10 Junk Journal Binding Ideas & Tutorials To Inspire You
If you’re new to making junk journals, then you might be wondering which junk journal binding methods are best for beginners.
Or, if you’re a more experienced journal maker, then you might be looking for some other binding ideas to challenge yourself with.
Regardless of which camp you fall into, I hope my blog post helps and inspires you. Let’s get straight into it, shall we?
Popular Junk Journal Binding Methods
1. 3 Hole Pamphlet Stitch

The 3 hole pamphlet stitch is one of the most popular junk journal binding methods.
While most people use waxed linen thread when binding their journals in this way, you can also use strong embroidery floss and even twine.
This method is one of the easiest to master and is what I’d recommend beginners start with. The 3 hole pamphlet stitch is also my favourite binding method when I’m making simple notebooks because it’s fast, easy and secure.
Here’s a diagram to show you what the stitch looks like:

With this binding method, you’ll:
- Start with the centre hole
- Come in through either the top or bottom hole
- Come out through the remaining hole
- And back in through the centre hole you started with
It’s up to you whether you start inside or outside your journal.
If you start on the inside (this is the most common method), then your bow or knot will be on the inside of your journal. If you start from the outside, then the bow or knot will be on the outside of the spine.
This tutorial from Helen Heibert is very helpful if you’re a beginner. And if you’d like to see how I bind multiple signature journals using a 3 hole pamphlet stitch, check out my video.
2. 5 Hole Pamphlet Stitch

While a 3 hole pamphlet stitch is ideal for notebooks and smaller journals, as you progress in this craft, you might need something that provides more stability for your signatures.
For instance, if your journal has gotten very bulky and heavy with lots of interesting ephemera inside. This is where the 5 hole pamphlet stitch comes in.
While on the surface it looks tricky, once you’ve tried it a few times, it’ll start to make a lot more sense.
Here’s a diagram to show you how to do it:

With this method, you’ll start in the same way as before (with the centre hole) and then:
- Come in through one of the holes next to the centre (hole 2)
- Come out through one of the outer holes (hole 3)
- Back in through hole 2
- Come out of hole 4
- In through hole 5
- Back out through hole 4
- And back in through the centre hole you started with
Imagine this method is like a double figure of eight. You can see exactly what I mean by that in this video (taken from my “From Bookshelf To Beautiful” course):
3. Ring Binding
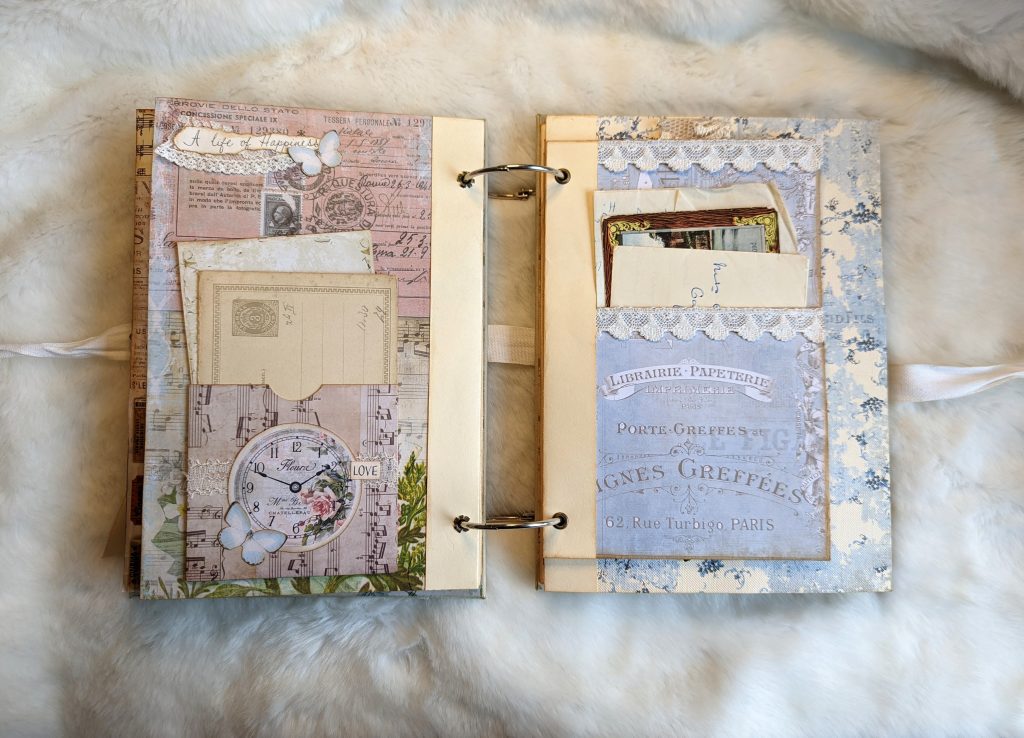
Ring-bound journals are a great alternative if you’d rather not stitch your signatures into your journal cover.
You also gain more freedom with this method. You’ll be able to reorder or swap out your pages as much as you like, but you also don’t need to worry about how heavy your pages are – at least compared to a sewn binding.
To make a ring-bound journal, all you need to do is punch two or three holes into both your front and back cover and all your pages. And then simply slip everything onto book-binding rings.
But you need to make sure you’re punching your holes in the right place. Otherwise, you might find some of your pages sit higher or lower than your covers, which isn’t a good look.
Here’s a video to show you how I did the binding for my ring-bound journal >>
4. Twine Binding
If you want the same kind of freedom you get with a ring-bound journal, but something that looks sleeker, then you might like the twine binding method.
This method involves wrapping twine around your spine to hold the pages in place and then tying a pretty bow on the outside for decoration.
Twine binding is easy to do and will securely hold your pages in place. But you do have to be careful of the twine cutting into the top or bottom of your pages.
You can easily avoid this by ensuring your signatures are smaller than your journal cover so that the spine itself takes the weight of the twine rather than your pages.
5. Elastic Binding

Elastic binding is almost exactly the same as twine binding, but you’ll use some elastic cord (ideally a 2 or 3-mm cord) rather than twine.
Once again, you gain the freedom of moving your pages around and you don’t have to stitch through paper!
An elastic binding is my preferred method when I’m making folios and altered file folder journals because I like that the journal inside becomes completely removable.
While you won’t be able to tie a pretty bow on the outside like with the twine binding method, you can make elastic binding look prettier by slipping beads or charms onto the elastic cord.
Of course, you can always “hide” your binding with some pretty spine jewellery or a tassel if you prefer.
6. Button Binding
Speaking of buttons, button binding looks super attractive along the spine. Here, you’ll use either a 3 hole or 5 hole pamphlet stitch.
Whenever you push the needle through to the outside of your journal, you’ll thread some buttons onto the binding. Essentially, you’re decorating your spine with buttons. How fun!
7. Ribbon Binding
Ribbon binding is another variation of the twine and elastic binding ideas I mentioned earlier.
Instead of wrapping twine or elastic cord around your spine and signatures, you’ll use some fabric ribbon.

The best bit? Not only do you gain the same freedom as the aforementioned types of binding, but it also looks pretty along the spine – especially if you tie a bow in the ribbon.
8. Japanese Stab Binding
All the ideas I’ve mentioned so far will only work if you use signatures in your journal (i.e. papers folded in half).
If you want to bind single pages together then Japanese stab binding is one of the best methods you can use.
While I haven’t tried this binding myself (it looks a little too complicated and longwinded for my liking), Natasa from Treasure Books has created a great tutorial video should you want to give it a go.
9. Cross Stitch Binding
Once you get more confident with binding your journals, you might want to challenge yourself a bit more. One way to do this is with cross stitch binding, which looks amazing along the spine.
This binding method involves passing the thread out of one signature and into another to create a cross or “X” shape.
10. Tab Binding
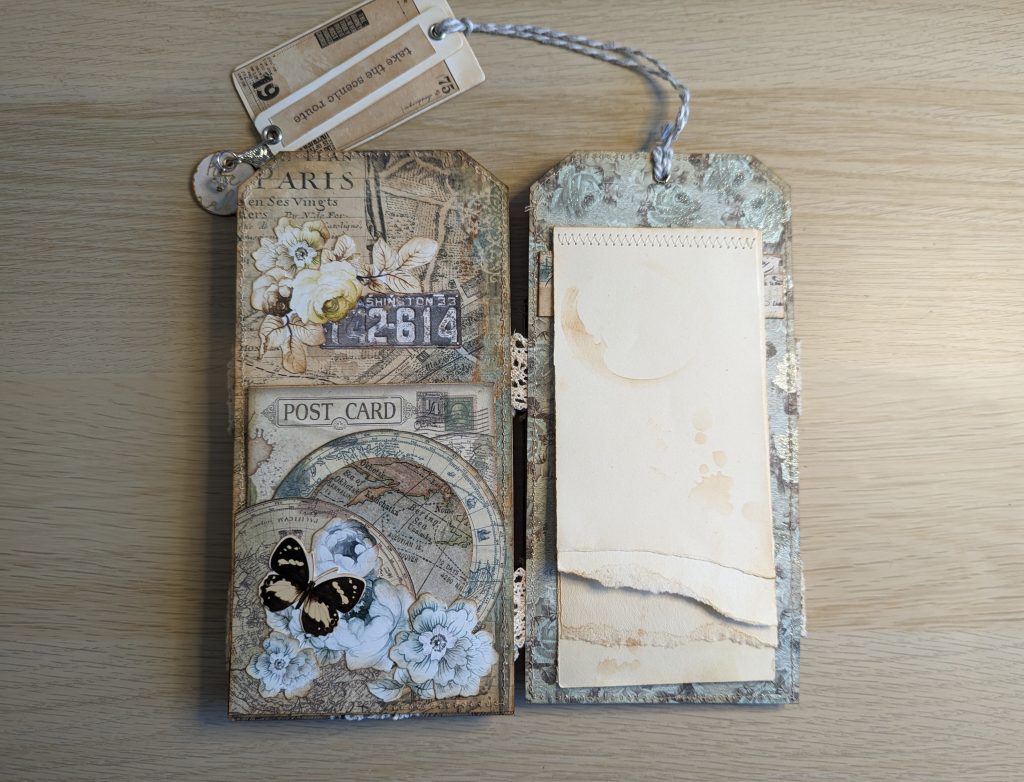
If you’re looking for a junk journal binding method that doesn’t involve any sewing or special materials, then tab binding might be the one for you.
This method involves glueing each of your pages onto “hinges”, which are small, interlocking pieces of cardstock or strong fabric. These types of journals have such a decorative spine!
To make a tab-bound journal, all you need is some strong glue and something to act as your hinges such as cardstock or strong fabric.
I wouldn’t recommend the tab binding method for full-sized or heavy journals, but it’ll work just fine for small notebooks, folios or tag books (like my travel-themed one).
Here’s a video from Treasure Books to show you how to do the tab binding >>
Top Tip: If you don’t fancy cutting out small strips of cardstock or fabric to make your tab hinges, then you could use longer strips of paper or fabric instead. This is what I did to make my tag book shown above with the help of some strong crochet trim. Here’s a video to show you this option in action >>
Standard, Hidden or Exposed Spines
While I’m on the subject of binding your journals, you also have a choice to make on whether you’ll have a standard, hidden or exposed spine.
Standard Spine
A standard spine (not necessarily the official terminology for it) is what most people will use when sewing their pages into their journal covers.
This involves sewing straight through the spine so that the stitches are visible on the outside of the journal. You can then leave them as is or cover your binding with lace or crochet along the spine of your journal.
This is my preferred method as it’s easy and perfect for beginners.
Hidden Spine
If you’d prefer your journal to have a more traditional bookbinding look (as in the stitches are “hidden” on the inside of the spine), this is called a hidden spine.

It involves stitching your pages into some strong fabric or card, which you’ll then glue inside your spine.
You can also make a hidden spine using some elastic cord instead of a sewn binding. This will mean your elastic cord will be “hidden” inside your spine instead.

Here’s a helpful video from RachandBella Crafts to show you how to make a hidden spine journal >>
Exposed Spine
Finally, if you’d like to try something really different, then you might like an exposed spine. This involves cutting into your spine so that part of your signatures are “exposed” on the outside of the spine.
Check out this video to see how to make an exposed spine journal >>
A Few More Thoughts On Binding Your Junk Journals
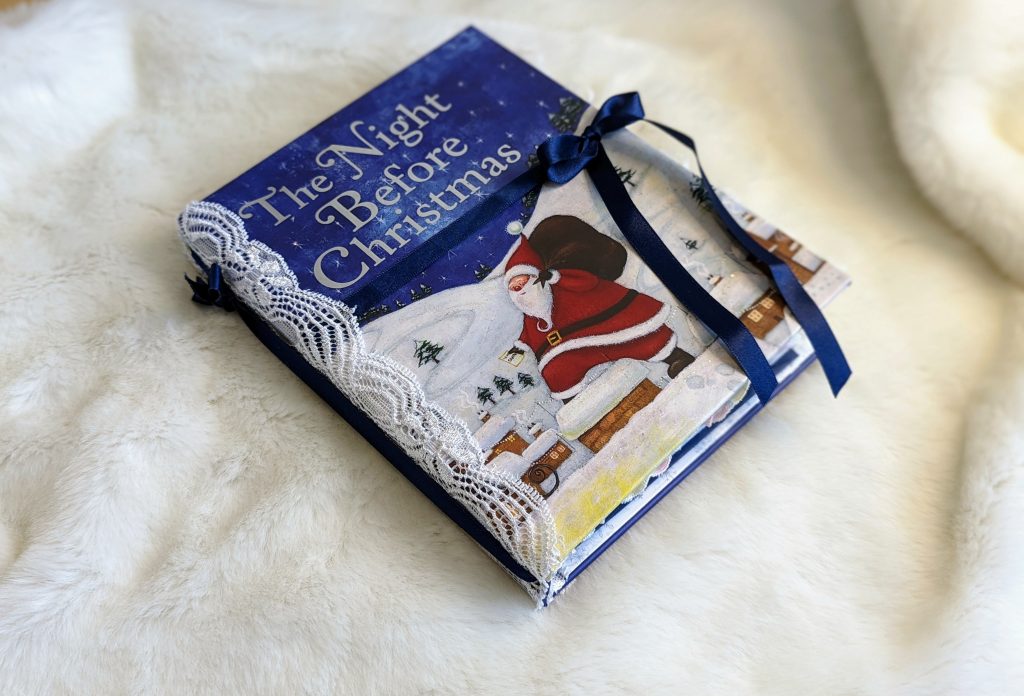
I hope you’ve found these ideas and tutorials helpful. But if you still find binding your journals daunting, then you might enjoy making altered book journals where you don’t have to do any binding whatsoever.
You can simply focus on decorating your journal cover, designing your pages and making interesting ephemera.
You might also enjoy making folios or altered file folder journals where you also don’t need to bind any pages into them. Adding a journal to projects like this is entirely optional!
That said, if you really want to learn how to bind your journals, you might find a bookbinding cradle helpful. While not an essential tool, you’ll find a cradle especially handy once you start binding multiple signatures into your journal covers.
If you’re after even more journaling advice, I have lots of other blog posts you might enjoy reading. You can find them all here >>
Discover More Creative Journal Ideas
- 21 Junk Journal Cover Ideas To Inspire You
- 10 Junk Journal Page Ideas To Inspire You
- 15 Junk Journal Tags & Journal Cards To Inspire You
- 10 Easy Junk Journal Pockets: Ideas & Tutorials
- Easy Junk Journal Embellishments: 20+ Examples & Tutorials
- 8 Ways To Use Junk Journal Embellishments (With Examples)
- 10 Junk Journal Binding Ideas & Tutorials To Inspire You
- 19 Hidden Journaling Ideas To Keep Your Writing Private
- 35+ Types Of Junk Journals You Can Try Making
- 14 Creative Things To Do In A Journal Or Notebook
- How To Keep Pressed Flowers In A Journal (7 Easy Ideas To Try!)
- 17 Fun & Festive Christmas Junk Journal Ideas
- 52 Junk Journal Prompts To Help You Write In Your Junk Journal
- Join My Free Facebook Group
- Check Out The Mahalo Clubhouse Membership
Did you enjoy this list of junk journal binding methods? Why not pin or bookmark it now, so you can refer back to it later?

Junk Journal Toolkit
📦 What do I need to get started?
If you’ve got paper, glue, scissors and something to bind your pages with (like a needle, thread and an awl or pokey tool), you’re good to go! Check out my essentials vs. nice-to-have supply list for more info.
🤯 I’m overwhelmed by tutorials and ideas. Where should I start?
Start with my free Mini Junk Journal Masterclass. It walks you through the process step-by-step. Even though it focuses on a mini journal, the same tips apply to any size journal.
❓ I don’t understand the terminology. Can you help?
Absolutely! My A–Z Junk Journal Glossary breaks down all those confusing terms and acronyms. Jargon be gone!
🪡 How do you keep your binding neat?
I use my bookbinding cradle to line up my holes and avoid punching too far through the pages. Smaller holes give a neater and more secure binding, and I use this thin upholstery thread for a cleaner finish.
🧵 Do I need a sewing machine?
Not necessarily! A basic sewing machine is helpful for making fabric-covered journals, but strong fabric glue can work just as well. If you stick to paper-based journals or folios, you don’t need one at all. I like the sewn look and making fabric-based journals, so I personally use a simple machine (similar to this) that’s lasted me over 10 years – it’s a trusty part of my toolkit.
🖼️ What digital papers do you use?
I use a mix of my own designs and other favourites. You can see examples here. New to digitals? Check out my mega bundle for a big saving on some of my designs or sign up for my Mahalo Clubhouse membership to get brand new digitals sent to you every month.
📜 What’s the best paper for printing digitals?
I use this 100 GSM Presentation Paper for vibrant and high-quality prints.
🖨️ What printer do you recommend?
I love my Epson Ecotank. It’s affordable, reliable and the ink lasts ages. I used to spend £30 a month on ink – now I refill just once or twice a year for under £30. Check out my detailed review of EcoTank printers to see how much you could save!
🖇️ What glues do you use?
My go-tos are Collall All Purpose, Cosmic Shimmer and Beacon 3-in-1. Here’s how I use each one.
📖 What books are best for junk journaling?
I love using second-hand nature and botanical books. Here are some great titles to look for next time you’re thrifting.
Such a great article but very frustrating to read because of all the adds slapped over the top! But thank you for the information. From what i could see the journals look beautiful!
Hi Julie,
I’m glad you found the info helpful, but I’m sorry to hear the ads were too frustrating for you.
I have ads on the blog as I’m unable to afford the running of the site without them, but of course, I really don’t want them hiding my content.
Are you saying the ads were on top of my images and text? Because that certainly shouldn’t be happening.
My husband and I can’t replicate this on our side (everything looks normal), so to help us investigate, would you be able to send me a screenshot of what you’re seeing?
My email address is: justine[at]houseofmahalo.com
Take care, Justine xoxo
so useful to know a couple more ways of biding. Thank you
You’re very welcome Jane! I’m glad you found my blog post helpful 🙂 xoxo