How To Start Junk Journaling: My Top Tips & Ideas For Beginners
Starting a new hobby – especially one that involves crafting and learning new things – can be daunting. But one of the many great things about making junk journals is that it’s a more accessible craft than many others.
If you know where to start.
This is where I come in… hopefully. My goal today is to give you some tips and ideas for your first (or next!) junk journal project. No matter what your style is. No matter what your skill level is.

How To Start Junk Journaling
Seeing as there are no rules when it comes to making junk journals, you can start any time and in any way you like. But if you’re really unsure, read on for my top tips on how to get started with junk journaling.
Tip #1. Say it with me: you don’t need all the things!
In the beginning, you might be tempted to buy or collect supplies you’ve seen others use. Then… one of four things happen:
- You feel too scared to use your supplies. What if you feel like you’ve ruined your project and wasted money you’ve spent on a specific tool or supply?
- You get “shiny new object syndrome”. You hop from project to project before finally forgetting all about that specific item you bought or collected. What did you end up getting it for again? Nope. Forgotten. You probably can’t even remember who told you about that particular item in the first place. So… this cool new product you bought or collected lays forgotten and buried in your craft space. Until you find it years later.
- You get overwhelmed by your supplies. Do the above enough times and you’ll soon find YOURSELF buried under your supplies. And that’s just plain overwhelming. Trust me, it happens to the best of us.
- You actually use the thing! But this last one is rare – especially if you’re new to junk journaling.
Here’s your challenge then: Don’t buy all the things! Of course, you need a select few supplies to make a junk journal. If you’re not sure what those are, check out my junk journal supplies list, which I’ve divided up into “essentials” and “nice-to-haves”.
Your next challenge: Check what supplies you already have. And get inspiration from those instead.
READ NEXT: Junk Journal Supplies List & Where To Find Them
Tip #2. Check what supplies you already have.
Have a look at what you can use from around your house. If you’re starting your craft stash from scratch, then you might not have a ton of supplies to choose from.
But one of the many awesome things about junk journals is that you don’t need a lot and you can use a lot of stuff from around the house.
Before you rush out to buy all the supplies you’ve seen people use in YouTube videos, I encourage you to work with what you’ve already got.
You may need to buy essential tools like some good glue or scissors if you don’t have those things. But when it comes to paper, fabric, lace, etc., I’d encourage you to use what you have.
For example, if you’ve got an old shirt you no longer wear, maybe you could use that in your journaling instead of buying fabric.
If you have books you don’t want to read again, you could use those to make pockets or interesting pages for your journal.
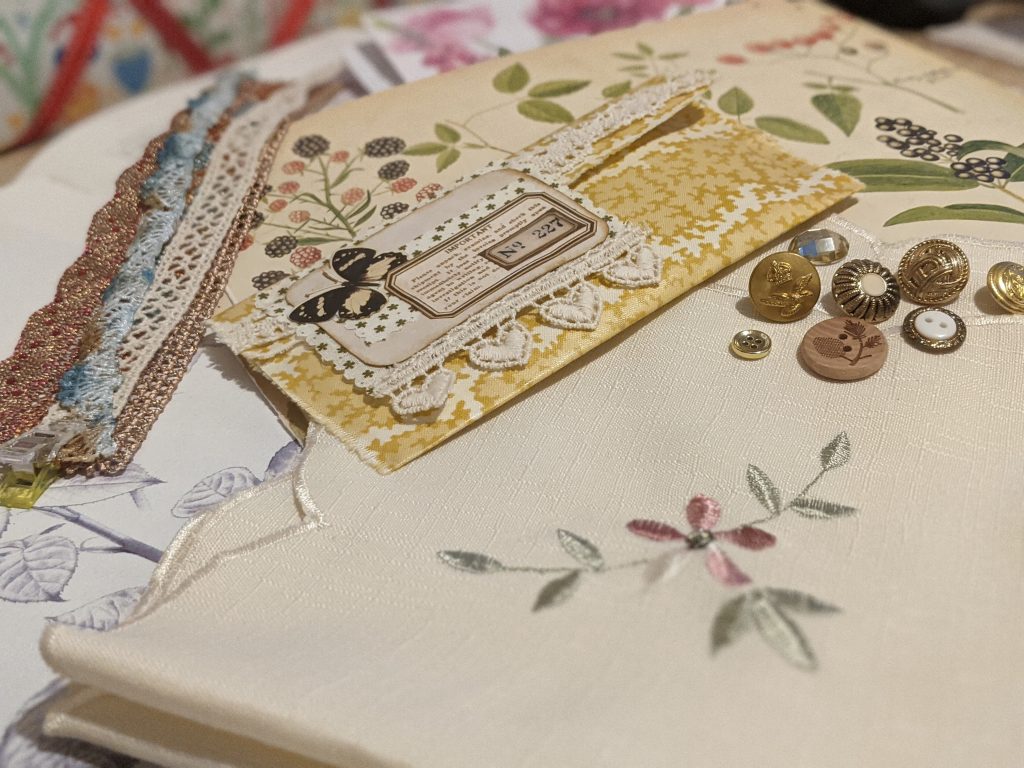
Do you have a lot of buttons? Why not make some cute fabric clusters or button dangles?
And if you already have some craft supplies, are you overrun with a particular item or group of items? Look around and see if you can find something you’ve forgotten about or feel particularly inspired by.
Usually, if I can persuade myself to sit with my supplies for a half hour or so, my next junk journal project comes wandering into my head. Usually, because I played around with a few envelopes or a piece of packaging or something.
READ NEXT: Junk Journal Supplies Organization – Sort It Out Saturday Video Series
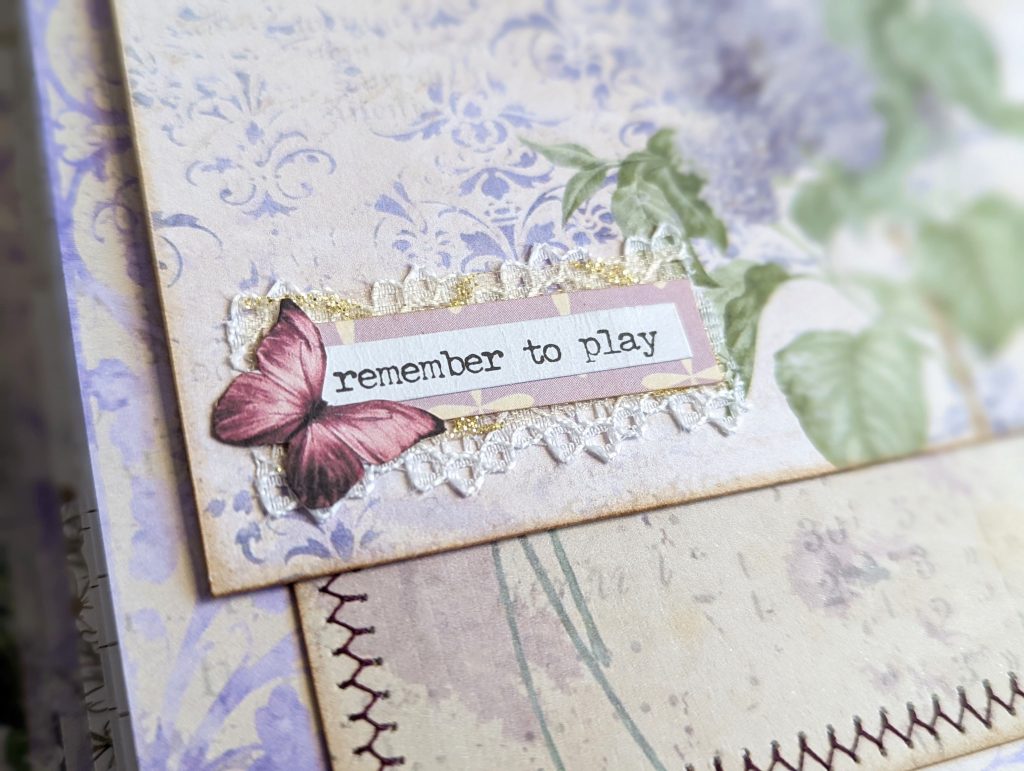
Tip #3. Play around with themes and styles.
In the beginning, you might not know what you like. While I’d always encourage you to try things out for yourself until you find what you’re happy with, a good place to start is by emulating the crafters you love to watch on YouTube or whose work you like to follow on other social media channels.
But I’d also encourage you not to be disheartened if you don’t love what you make straight away. Oftentimes, emulating other crafters can cause frustration because it won’t always turn out the way they’ve shown you.
This is natural, of course, because we all have different supplies, skills, likes and dislikes.
Beyond that, it might even surprise you what style or theme you end up gravitating toward. Take me, for example. When I first started junk journaling, I took inspiration from various popular YouTube channels, such as:
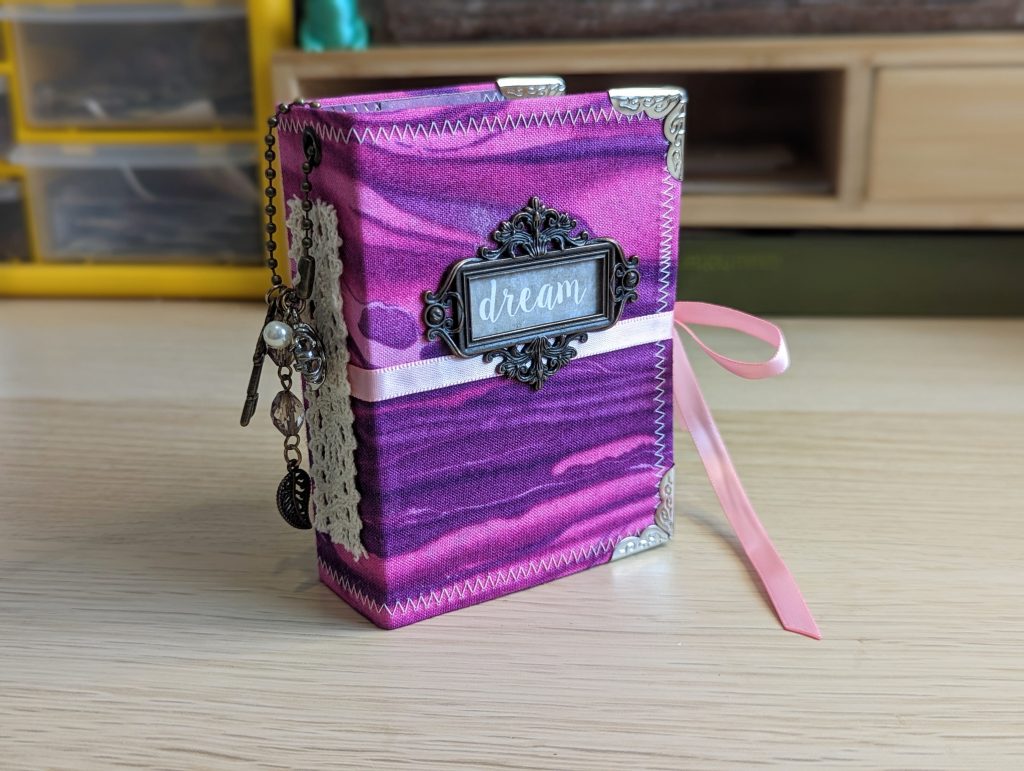
I used to love the colour pink and I love lace and soft textures. I naturally thought this was my “bread and butter” so to speak when it came to making junk journals. But the truth is… I went off that style approximately a year later.

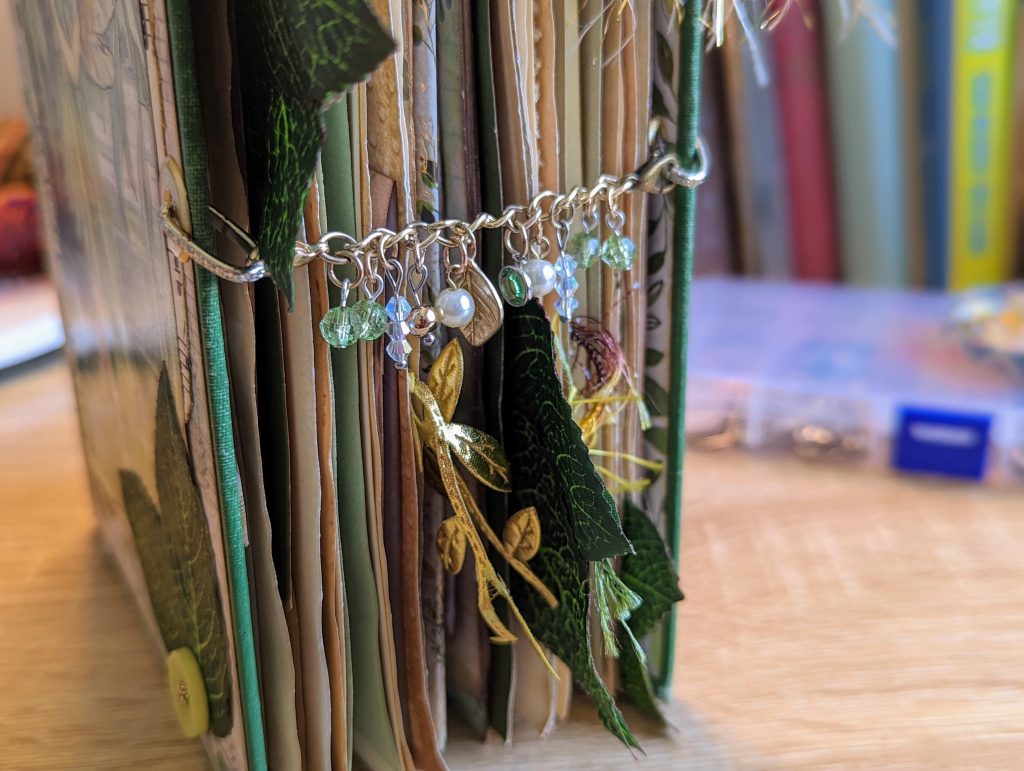
Now? I take inspiration from my walks in nature and what I see from the window in my studio. Think bare trees frosted with snow and ice in winter. Soft pastels and wildflowers in the spring. Bold and bright florals in summer. And warm oranges, golds and reds in the autumn months.


My point is: It took me a long time and a lot of crafting to figure out what I like to create. Take your time with it. Enjoy the journey. You never know where you might end up.
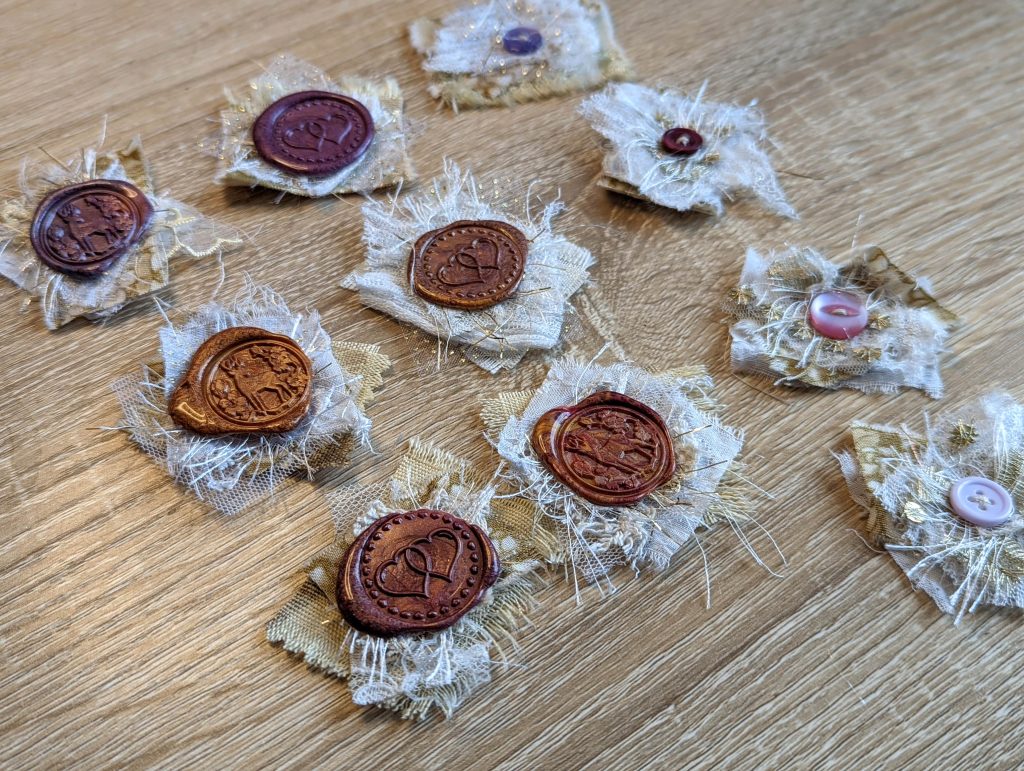
Tip #4. Start with ephemera and embellishments.
Before you make your first journal, I’d recommend making ephemera and embellishments first.
This will give you a feel for the colours and themes you like the most – and you’ll probably discover your style quicker.
It’ll also save you the frustration of having lots of unfinished journals sitting around your craft space if your likes and dislikes change as rapidly as mine did.
READ NEXT:
6 Easy Junk Journals For Beginners
Once you’ve tried my tips above, you’ll probably have a better idea of the kind of junk journal you want to make or would most enjoy making.
But if you still feel unsure where to start, here are some of my favourite junk journals for beginners and the ones I recommend you start with.
1. Simple Notebooks
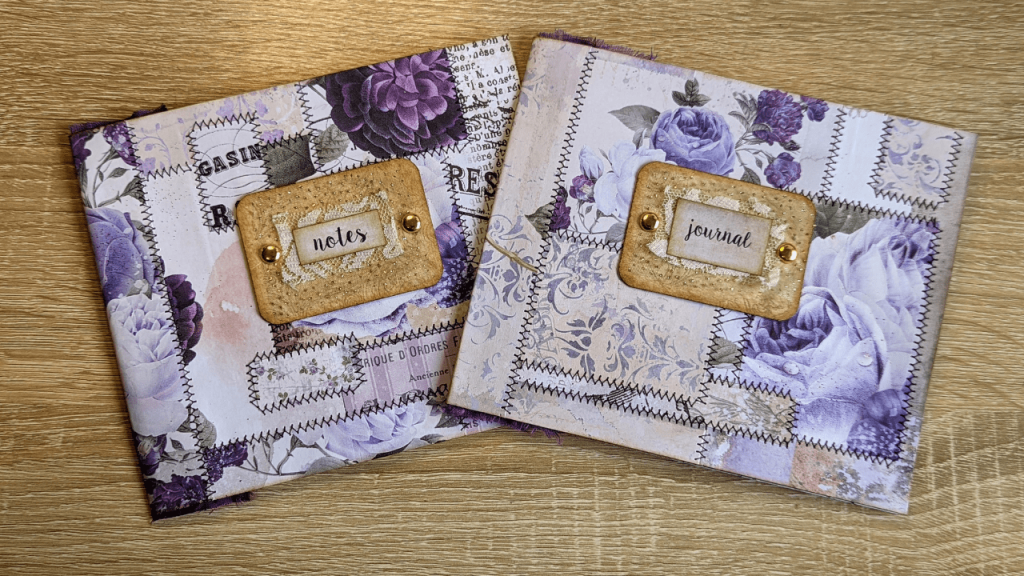
Before you get stuck into making a full-sized or chunky junk journal, you’ll probably feel more comfortable starting with a simple notebook.
This will help you get a feel for the process – from making the cover and signatures to binding the pages into your cover using a 3-hole or 5-hole pamphlet stitch.
I recommend starting with the 3-hole pamphlet stitch as it’s the easiest binding method and perfectly adequate for notebooks and smaller journals.
Also, you can make a notebook out of practically anything. Here are some ideas of what you can use:
- Scrapbook paper or cardstock
- Envelopes (either a large one folded in half or two joined together)
- Greeting cards or card blanks
- Packaging such as brochures or thin card
- Book pages and other sturdy papers (you may need to use washi tape along the spine to strengthen them)
As for inside the notebook, keep things simple in the beginning with just plain paper or writing paper. That way, you can practice the binding method you most want to use and get a feel for decorating your cover.
In case it helps, here are some simple notebooks I’ve made on video over the years. I hope they give you some extra tips and inspiration:
- Pretty Little Notebooks Using 6×6 Scrapbook Paper
- Mini Pocket Notebooks From 6×6 Scrapbook Paper
- Simple Notebook Using Envelopes & Digitals
- Simple Franken Paper Notebooks Using Book Pages & Scraps
- Easy Peasy Notebooks Using Christmas Cards
You might also enjoy this easy notebook project, which involves upcycling a passport holder.
2. Mini Junk Journals
Just like simple notebooks, mini junk journals are another ideal project to start with.
Mini journals enable you to experiment with small pieces of ephemera, little tuck spots and embellishing your pages to help you get a feel for how it all works.
You can also practice your preferred binding method with less pressure than if you made a full-sized journal. Plus, you can finish a mini journal relatively quickly while still understanding what you enjoyed and didn’t enjoy about the process.
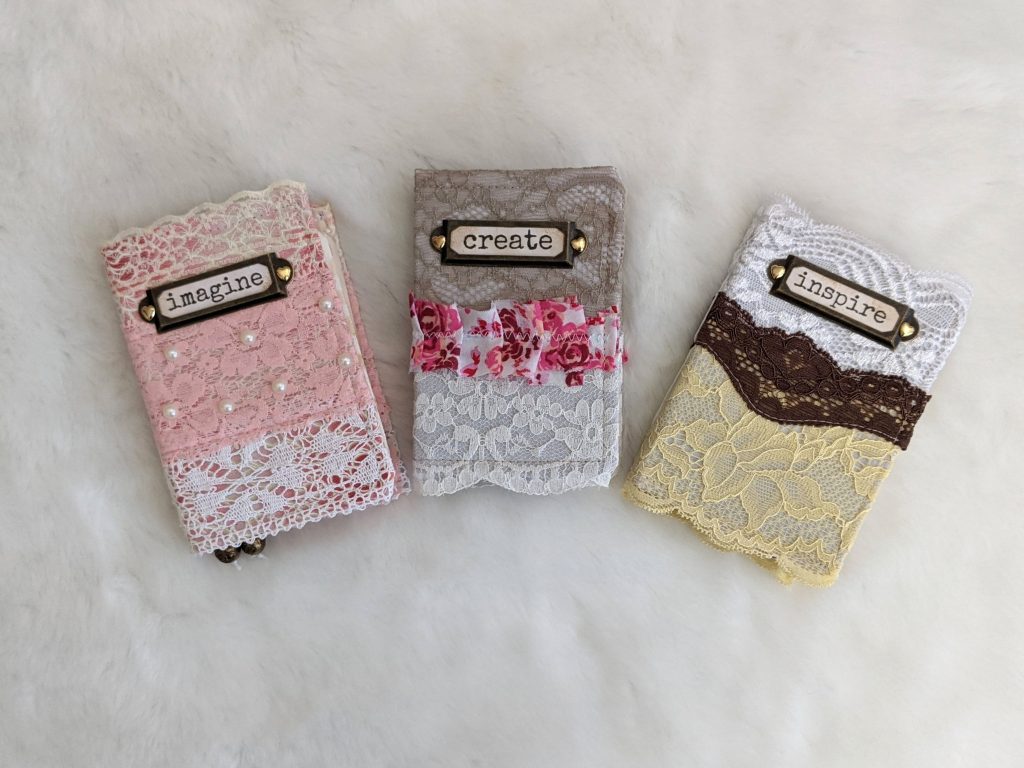
Before I made my first full-sized journal, I made three mini lace journals. I upcycled some tiny vintage dictionary book covers and decorated them with scraps of fabric and lace because I didn’t have very many supplies. Inside, I used whatever papers I could get my hands on within the house; torn down to the size of my journals.
Since then, I’ve also recorded a three-part video series on how to make a mini junk journal from a little cough drop box. It was a fun and simple project and perfect for beginners!
3. Simple Junk Journal Folios

Before I get into this, if you search on YouTube for “junk journal folio”, you’ll probably find various projects that look complicated. The more envelopes you add, the more complicated it can get.
But if you start with just three envelopes, you can make a simple folio that has pockets, a removable notepad and a fun cover. You’ll probably also enjoy playing around with the envelopes. All the flips and flaps and interactive elements are a lot of fun.
As an example, here’s a folio I made when I was very new to junk journaling. I love how it turned out. It was a relatively simple envelope folio but gave me a good understanding of folios and how they work.

But the main reason why I think folios are ideal junk journal projects for beginners is because they don’t take a huge amount of time – even when you’re new to making them.
For inspiration, here are some of my favourite junk journal folios I’ve made over the years:
4. Single-Signature Journals

Once you’re feeling more confident, it’s time to make your first full-sized junk journal. But I’d encourage you to start with one-signature journals, rather than journals with multiple signatures.
Single-signature journals will give you a feel for what it’s like to make a large journal, but it’ll be far less daunting.
I’d recommend making your first journal with either:
- A large envelope folded in half
- Two smaller envelopes joined together
- A large bubble mailer folded in half
The reason for this is that these supplies will usually give you the perfect-sized cover for your pages without you having to cut or measure anything. Easy peasy!
Plus, you can cover your envelopes and bubble mailers with paper or fabric and then stitch your signature straight into the cover using a 3-hole pamphlet stitch.
Don’t feel like you need to use a multitude of different papers either. You might find it easier to use a small selection of papers or a mix of pretty papers and writing paper to make your pages.
At least until you get a feel for how chunky journals can get once you add your ephemera and embellishments. That’s a steep learning curve if ever I knew one!
I also want to let you in on a little secret.
Even today, after making well over 50 journals by now, I still prefer single-signature journals. I don’t get much satisfaction from creating multi-signature journals.
I actually find them quite boring to make and I’d much rather make two one-signature journals than one multi-signature journal!
As inspiration, here are some single-signature journals I’ve lovingly made over the years:
5. No-Sew Journals

If the idea of stitching through your papers to bind them into your cover scares you, don’t worry; we’ve all been there. Even today, it’s my least favourite part of the process!
But if you really don’t like binding your journals, then there is an easier way!
You can use an elastic binding, ribbon binding or twine binding method instead. The idea is pretty simple. You wrap the ribbon, elastic cord or twine around your hardback journal cover and tie a knot. You can then slip your pages inside the cord or ribbon to hold them in place.

A book cover or cardboard packaging is ideal for this kind of journal. And you can very easily make a multi-signature journal this way.
Also, because your pages aren’t stitched into your cover, you can change the order of them as you work with your journal. You can even remove pages if your journal gets too bulky. Essentially, you have a lot of freedom over how your journal will turn out in the end.
Here are some of the journals I’ve made in this way to serve as some inspiration for your own:
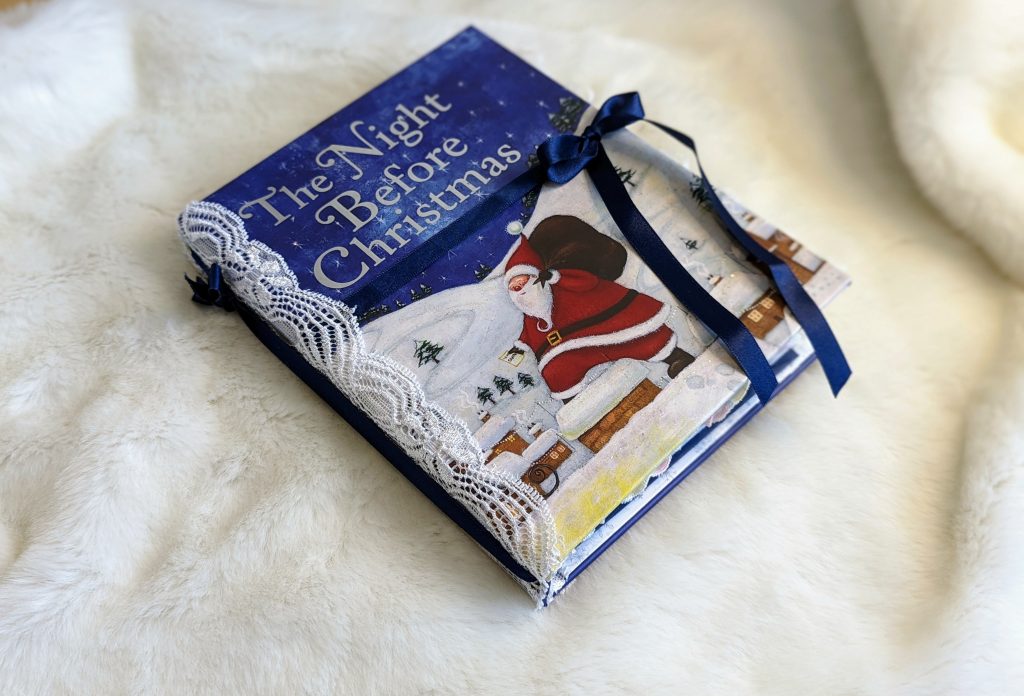
6. Altered Book Journals

Finally, you can even skip binding your journal altogether by making an altered book journal.
You don’t even have to decorate your journal cover if you choose a book with a decorative cover. You can simply concentrate on decorating your pages and making ephemera to go in your pockets.
The only thing I would say with this is that you may feel daunted to rip out pages from a book if it’s your first time doing it. As long as you’re following tutorials such as this one from 49dragonflies or this tutorial from Treasure Books, I’m sure you’ll find the process relatively easy and enjoyable.
For an extra dose of inspiration, you might also want to read my blog posts about altered book journals, such as:
Read More About Junk Journals
Other than being outside in nature, junk journals have been one of my greatest passions since early 2021. And I’ve been writing about them on my website ever since.
This means I have a TON of content for you to read. You can find all of my blog posts about junk journaling here.
But if you’re a beginner, here are a select few you might want to start with:
- A-Z Junk Journal Glossary For Beginners
- What Is A Junk Journal?
- Everything You Need To Know About Junk Journal Signatures
- What Is Junk Journal Ephemera?
- How To Make A Junk Journal From Scratch (Step-By-Step)
- 35+ Types Of Junk Journals You Can Try Making
- Recommended Junk Journal Printables (Tried & Tested!)
- The Intriguing History Of Junk Journals
Did you enjoy my guide on how to start junk journaling? Have you found a fun little project to get stuck into? Please consider sharing this blog post with your friends and family to inspire them xoxo

Junk Journal Toolkit
📦 What do I need to get started?
If you’ve got paper, glue, scissors and something to bind your pages with (like a needle, thread and an awl or pokey tool), you’re good to go! Check out my essentials vs. nice-to-have supply list for more info.
🤯 I’m overwhelmed by tutorials and ideas. Where should I start?
Start with my free Mini Junk Journal Masterclass. It walks you through the process step-by-step. Even though it focuses on a mini journal, the same tips apply to any size journal.
❓ I don’t understand the terminology. Can you help?
Absolutely! My A–Z Junk Journal Glossary breaks down all those confusing terms and acronyms. Jargon be gone!
🪡 How do you keep your binding neat?
I use my bookbinding cradle to line up my holes and avoid punching too far through the pages. Smaller holes give a neater and more secure binding, and I use this thin upholstery thread for a cleaner finish.
🧵 Do I need a sewing machine?
Not necessarily! A basic sewing machine is helpful for making fabric-covered journals, but strong fabric glue can work just as well. If you stick to paper-based journals or folios, you don’t need one at all. I like the sewn look and making fabric-based journals, so I personally use a simple machine (similar to this) that’s lasted me over 10 years – it’s a trusty part of my toolkit.
🖼️ What digital papers do you use?
I use a mix of my own designs and other favourites. You can see examples here. New to digitals? Check out my mega bundle for a big saving on some of my designs or sign up for my Mahalo Clubhouse membership to get brand new digitals sent to you every month.
📜 What’s the best paper for printing digitals?
I use this 100 GSM Presentation Paper for vibrant and high-quality prints.
🖨️ What printer do you recommend?
I love my Epson Ecotank. It’s affordable, reliable and the ink lasts ages. I used to spend £30 a month on ink – now I refill just once or twice a year for under £30. Check out my detailed review of EcoTank printers to see how much you could save!
🖇️ What glues do you use?
My go-tos are Collall All Purpose, Cosmic Shimmer and Beacon 3-in-1. Here’s how I use each one.
📖 What books are best for junk journaling?
I love using second-hand nature and botanical books. Here are some great titles to look for next time you’re thrifting.