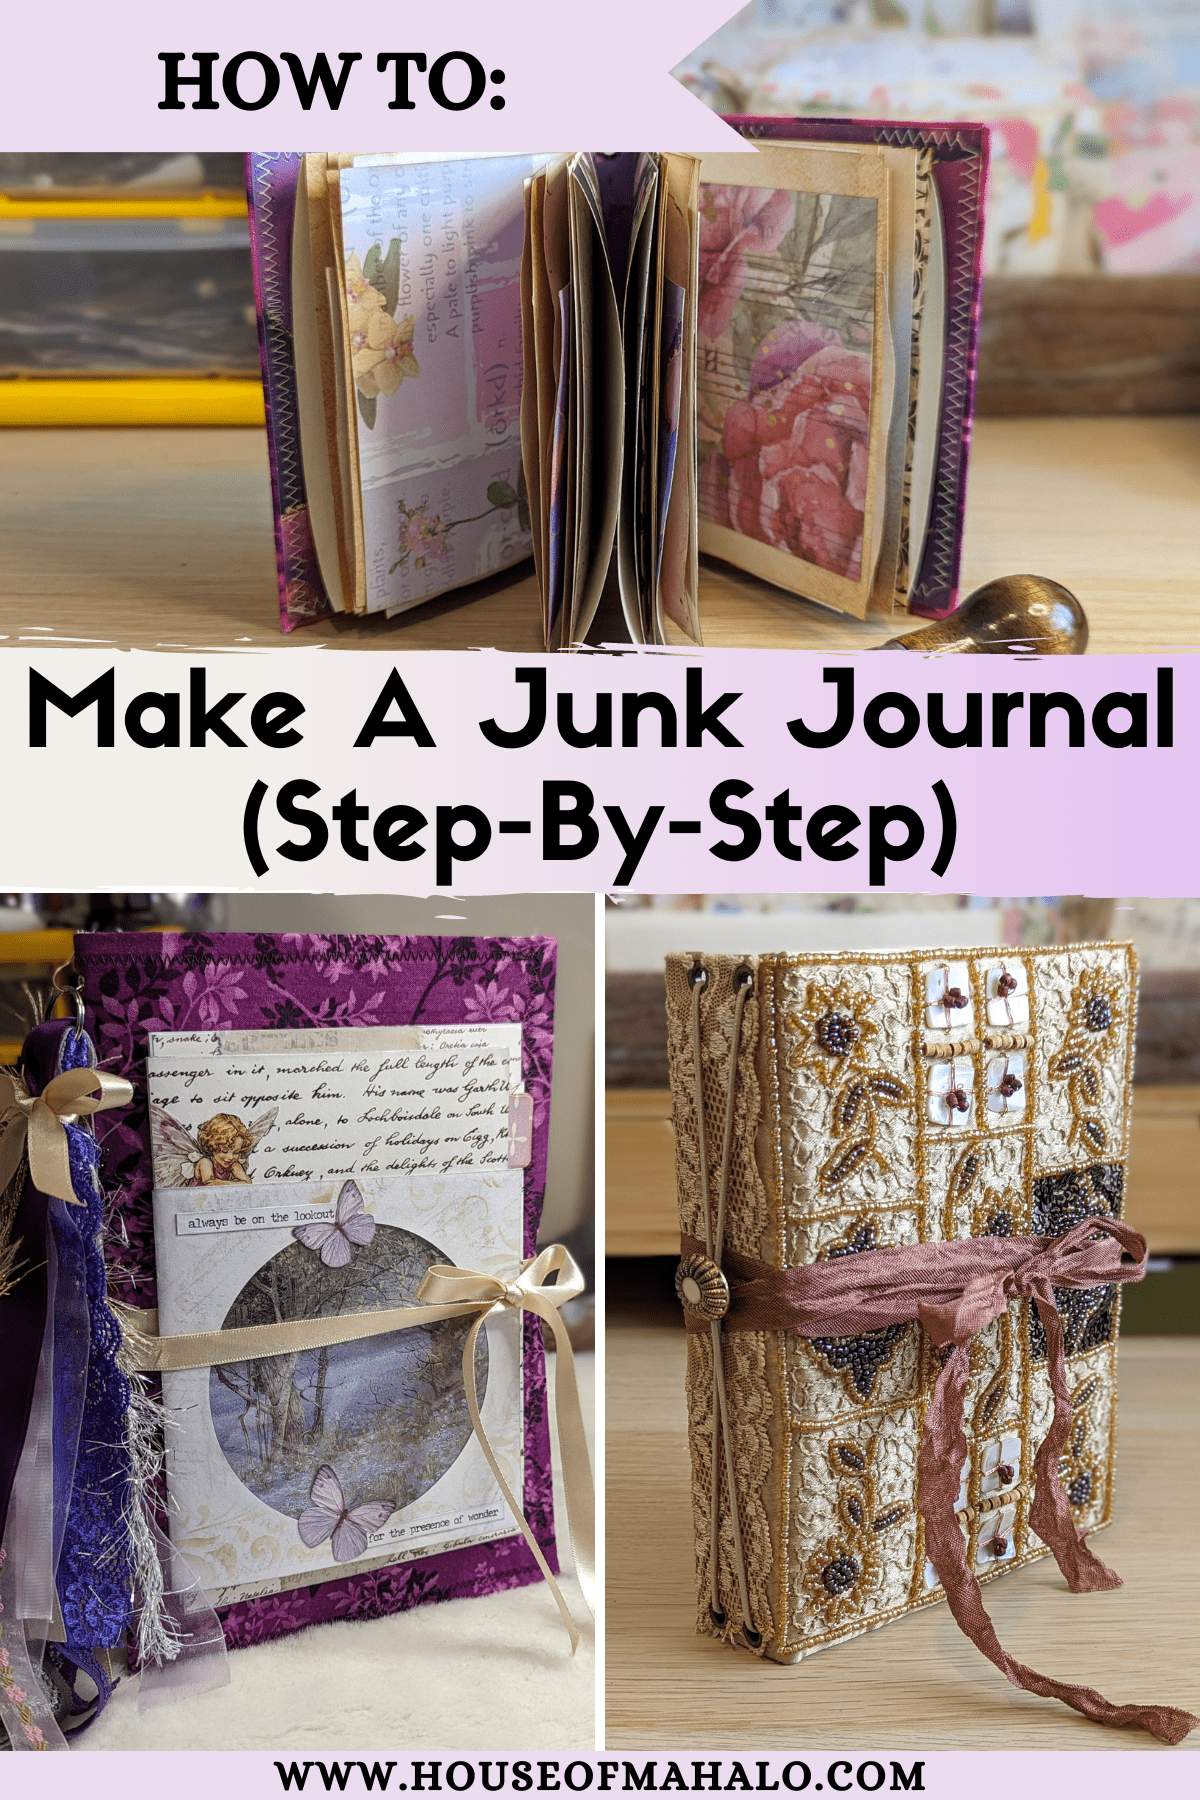
How To Make A Junk Journal From Scratch (Step-By-Step)
After two years of making junk journals, I thought it was about time I wrote a blog post on how to make a junk journal from scratch, step by step.
What started as a mini junk journal masterclass has now become a 2500-word guide showing the different ways you can make a junk journal and the steps involved.
Essentially, this is probably everything I could ever tell you about my journal-making process.
So, are you sitting comfortably? Preferably with a drink in hand? Perfect, let’s begin…
How To Make A Junk Journal From Scratch: Step-By-Step Process
Step 1: Decide what type of junk journal you’re going to make
Before you start making your junk journal, you’ll need to decide what type of junk journal you’re going to make and what materials you want to use.
For example, here are some questions to consider before you get started:
- Will you make a soft-cover or hard-cover journal?
- Will you upcycle a book cover, cereal box or some other food packaging to make your journal cover?
- Or will you use envelopes to make your cover?
- Do you want to make a junk journal completely from scratch?
- Or would you prefer to make an altered book junk journal? This means you’ll skip the need to make your journal cover and you’ll skip the binding process.
As with most parts of this addictive craft, there’s no right or wrong way to make a junk journal. And there are certainly no set rules to follow.
However, if you’ve never made a junk journal before then you might prefer to:
- a) Start with a one-signature journal as opposed to multiple.
- b) Upcycle something (such as cereal boxes, food packaging or envelopes) rather than measuring cardstock or chipboard from scratch.
You might also find my blog posts on “What is a junk journal?” and “Junk journal definitions” helpful.
Or maybe you’re just far too excited to get stuck in to worry about anything. That’s okay too, of course. Keep reading to learn more!
Whichever type of junk journal you make, many of the steps after making the cover are similar, so I hope you find the following instructions helpful.
Note: If you’re making an altered book junk journal, then aside from decorating your journal cover, you can skip ahead to Step 5.
Step 2: Make and decorate your junk journal cover
If you’re not sure how to make a junk journal cover, then the first thing you need to know is that the process differs slightly based on what kind of journal you’re making and what materials you’re using.
To help, I’ll list some basic instructions and links to videos below for three of the most popular ways to make a junk journal cover.
How To Make Journal Covers From Cereal Boxes & Other Packaging
If you want to make your journal cover from cereal boxes or similar packaging, then you’ll find some simple steps and a video below to help you get started.
This is one of the most popular ways to make a junk journal given the basic supplies are free!
First, you’ll need to prepare your cover by trimming off any excess packaging. All you need to keep is enough of the box to make your front and back covers and a spine.
Ideally, it’s easier if you can keep all three parts together otherwise you’ll need to tape them together.
At this point, you might also want to reinforce your spine with some extra cardstock.
From here, you’re free to decorate your cover however you like. You could use paper or fabric to cover it and then line the inside with pretty papers or cardstock.
Don’t forget to add your closure and any other embellishments like bookplates or journal toppers.
Do you prefer watching videos?
How To Make Journal Covers From Books
Alternatively, another popular way to make a junk journal is by upcycling old and unloved books.
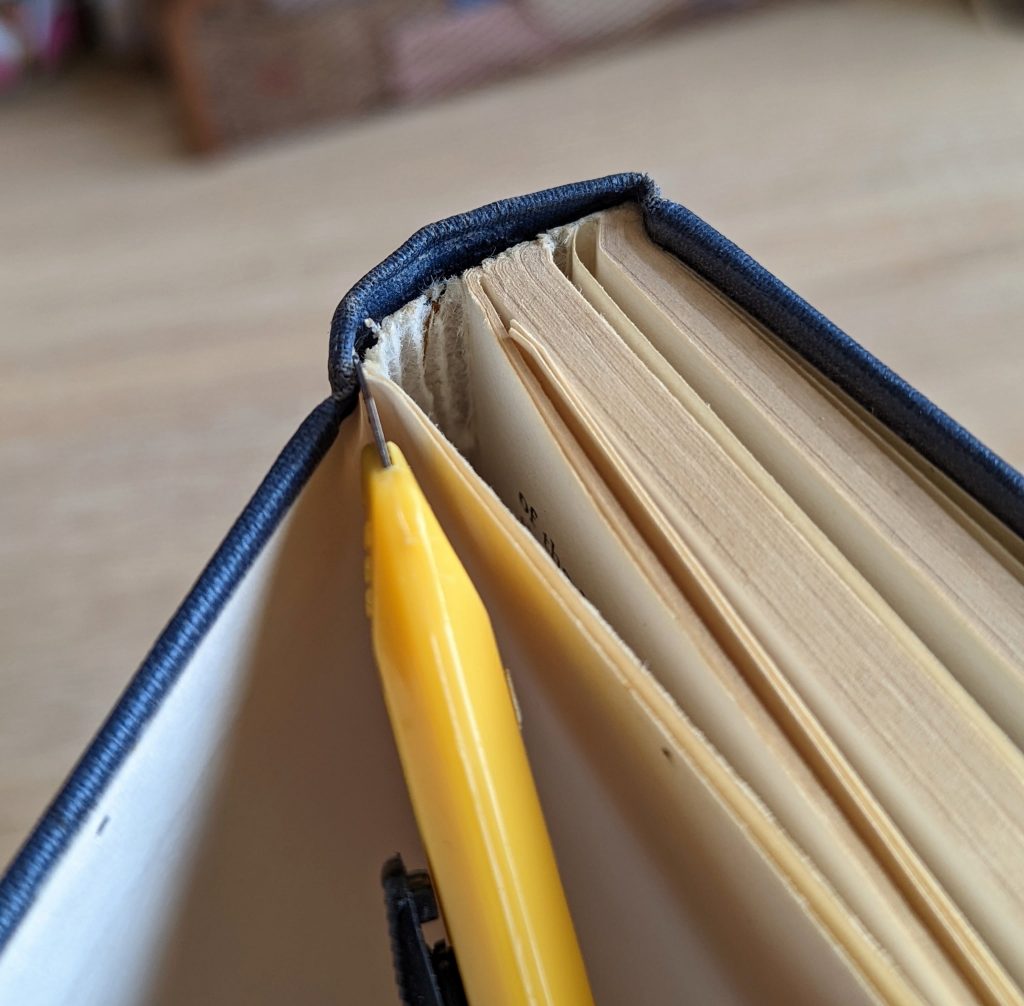
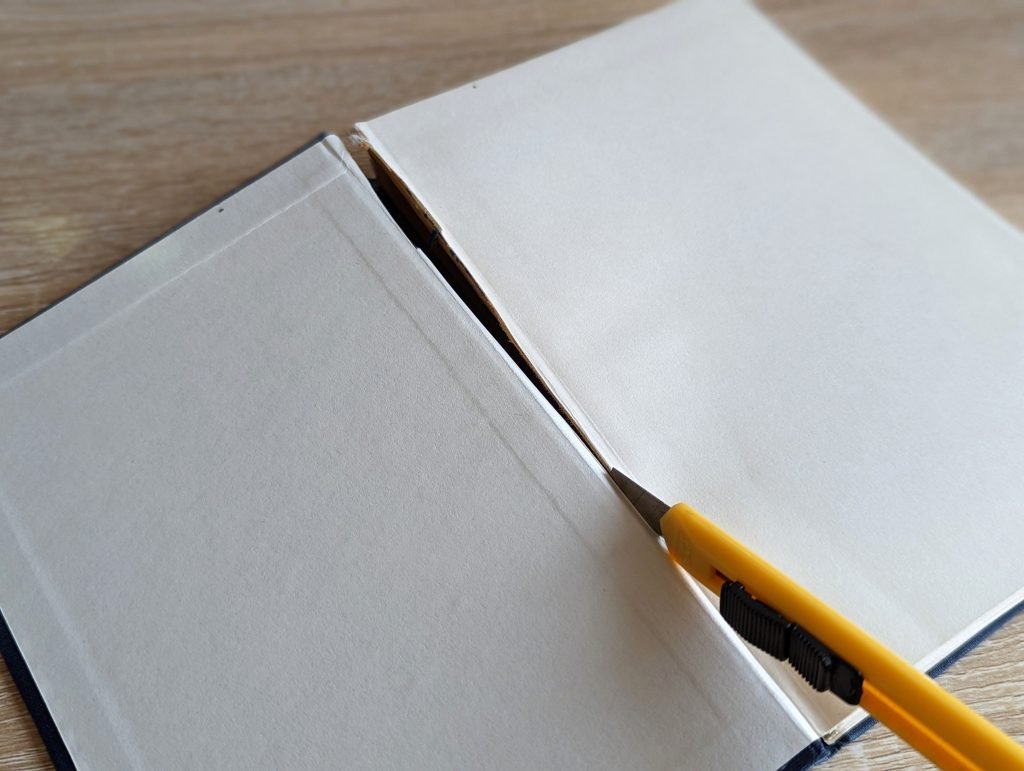
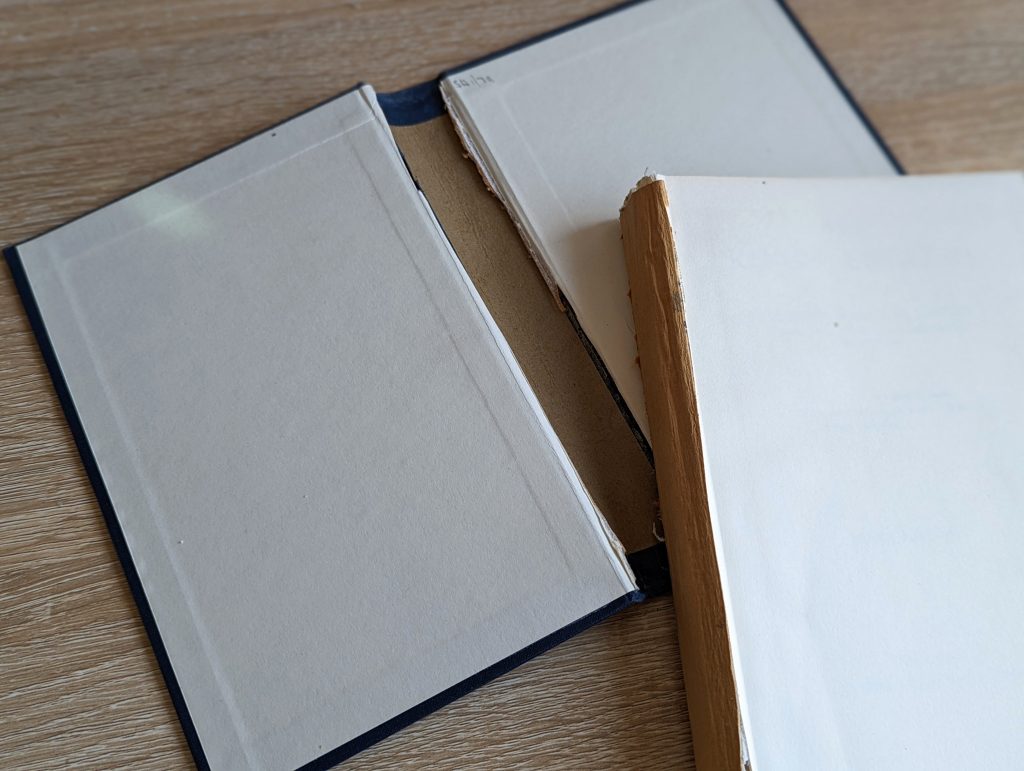
First, you’ll need to completely gut the book so you’re left with an empty book cover. You can do this by running a craft knife along either side of the spine as shown here:
Then the steps are similar to the ones listed above. You’ll need to reinforce your spine or make a new one for the book cover if it’s not wide enough.
Watch my video to see how I upcycle book covers into journal covers >>
Top Tip: Why not upcycle your original book spines into bookmarks? It’s super easy to do – check out my tutorial here.
When you’re ready, you can decorate your book cover, line the inside with cardstock or pretty papers and add your closure. And now you have a journal cover ready to go!
Here’s another video to show how I decorated one of my upcycled book journals >>
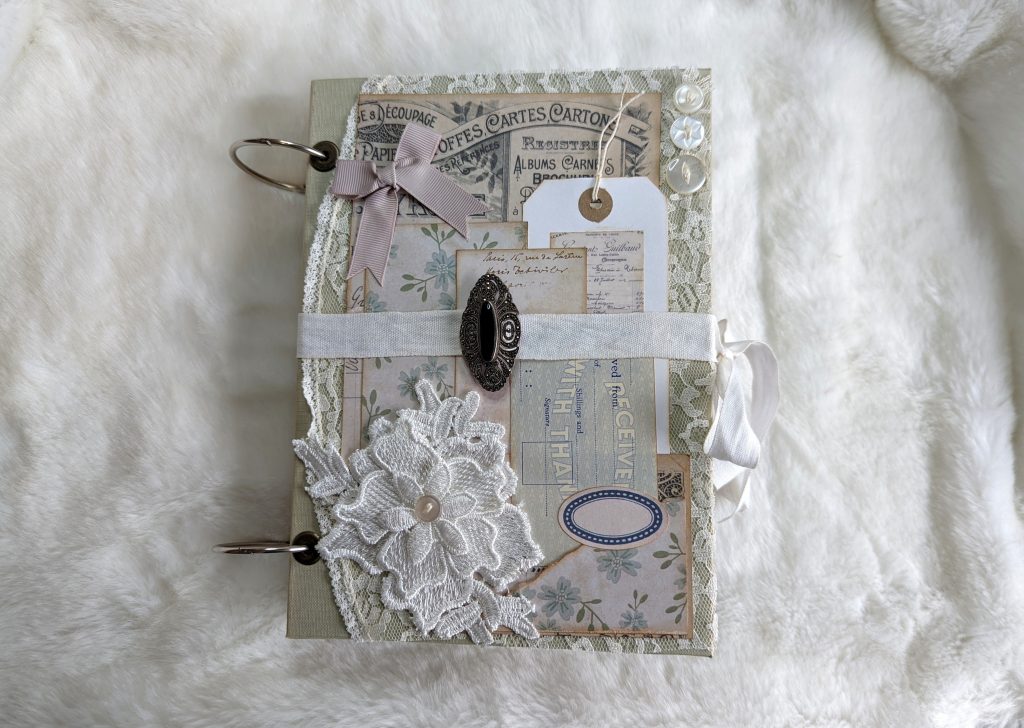
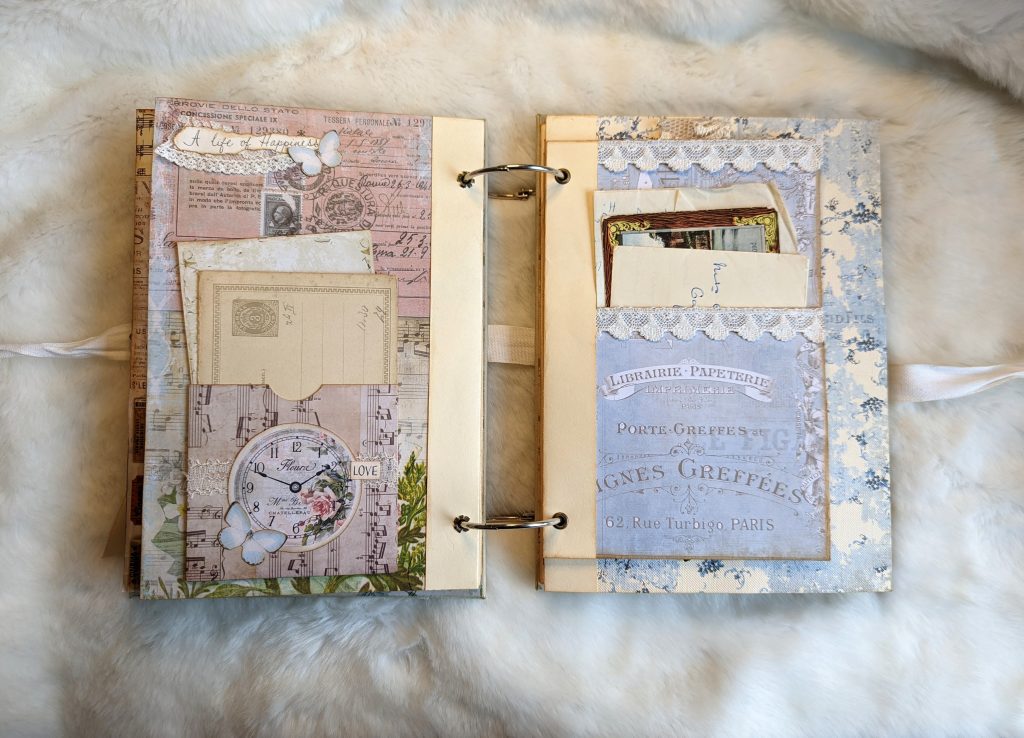
Alternatively, you can create a ring-bound junk journal by using the front and back covers of a book and removing the spine completely. Instead, you can “join” the covers together using book rings.
Here’s a video to show you how >>
Please note that the steps listed above are for making junk journal covers by upcycling old and unloved books.
Many of these steps don’t apply if you’re making an altered book junk journal, which involves keeping the book cover and most of the original pages intact.
Instead, you’ll only remove some of the pages to make room for your ephemera and embellishments.
How To Make Journal Covers From Envelopes
If you’re looking for an easy junk journal, then I can think of nothing better than using an A4 or US letter-sized envelope.
You can even use bubble mailers for a soft and squishy cover!
Fold your envelope or bubble mailer in half and you should find they’re the perfect size for your journal pages. You can also trim the envelope or bubble mailer down further if you need to.
From here, you’re free to decorate your cover with fabric or paper and add your closure.
Simple, huh?
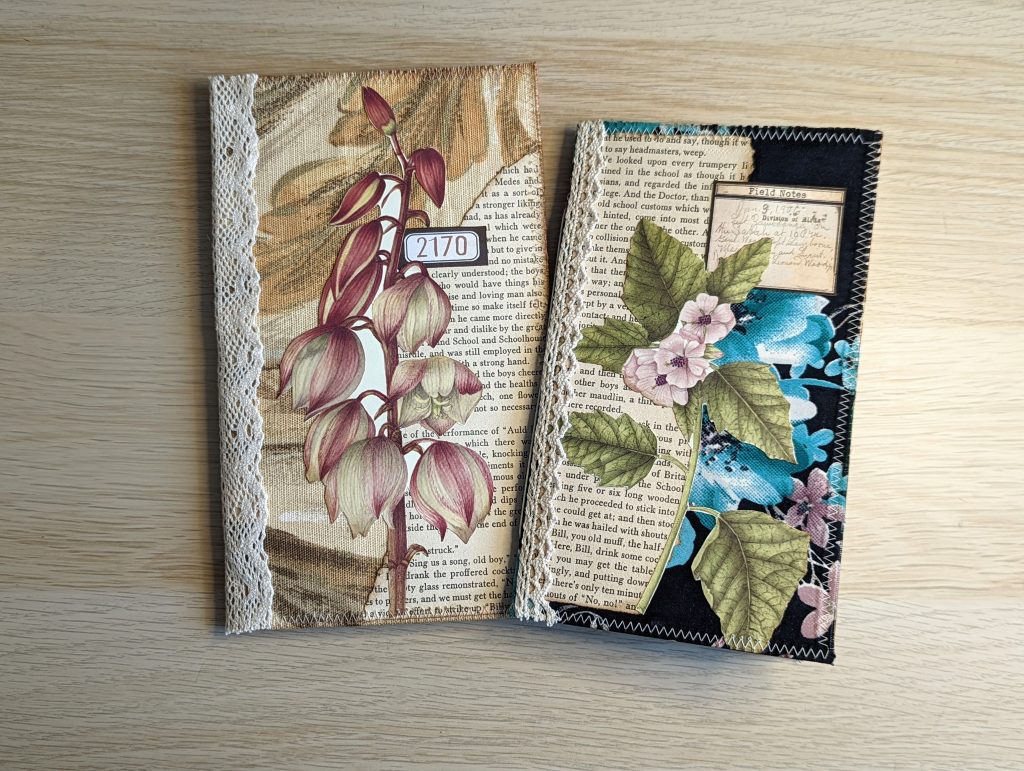
Here’s a video to show how I made a simple notebook using two envelopes joined together >>
You might also like to watch how I made some simple paper bag journals following a tutorial from Wendy’s Journal Adventure. The process is similar to using envelopes and bubble mailers.
Once you get more experienced, you can make junk journal covers from practically anything such as sweet wrappers, fabric placemats and even wallet purses.
If you’re looking for inspiration on how to decorate your journal cover, then here are lots of junk journal cover ideas to inspire you.
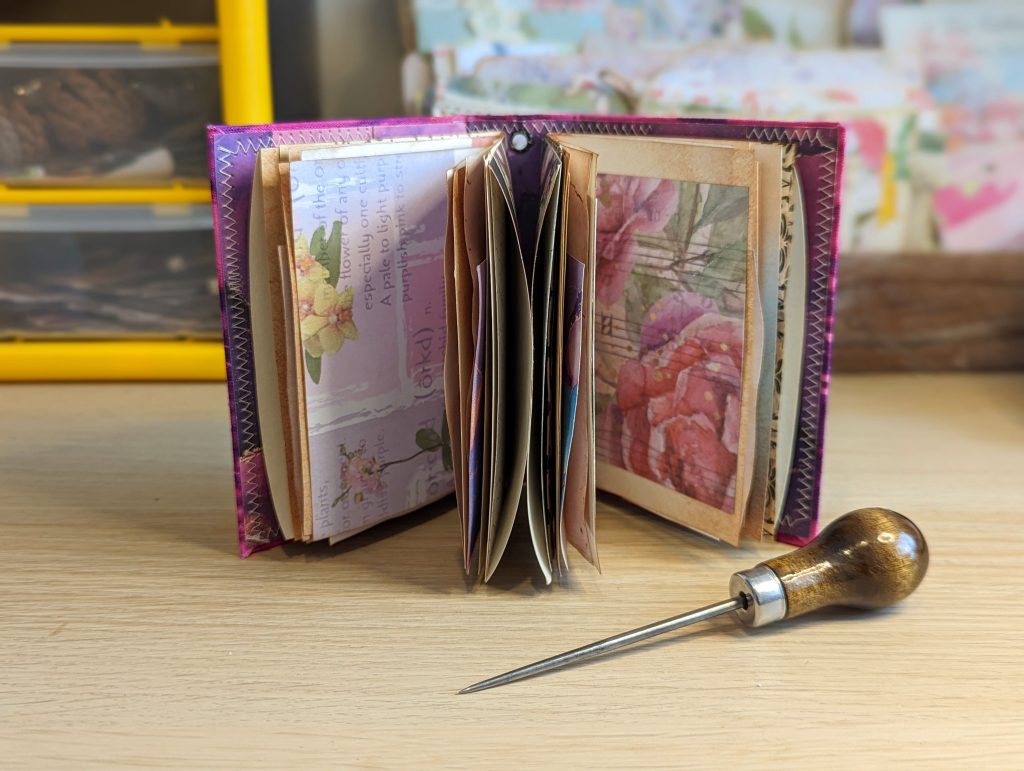
Step 3: Prepare your signature(s)
Once you’ve made your cover, you’ll know what size your pages need to be, so it’s time to prepare your signature(s).
A “signature” is a collection of papers that you’ll bind into your cover to make your journal. These are the pages that you’ll either write on, decorate or add ephemera to.
If you’re making a one-signature journal (perfect for beginners) then you’ll need just one collection of papers. Two signatures require two collections of papers, three signatures require three collections of papers and so forth.
How many papers you use for each signature is up to you.
However, as a rule of thumb, I usually go for between 8-12 papers depending on a) how thick each piece of paper is and b) how many ephemera and embellishments I’m going to add.
I’ve made over 30 journals by now and it still surprises me how quickly they grow once you start adding pockets, tuck spots, journal tags/cards and other ephemera.
You can use a variety of different papers to make your signatures – from scrapbook paper, book pages and digitals to envelopes and paper bags.
This is half the fun of making a junk journal, so don’t be afraid to change things up and experiment!
Step 4: Bind your signatures into your cover
Once you’ve prepared your signature(s), it’s time to bind them into your cover.
If you’re not sure how to bind a junk journal, then note that there are various binding methods you can use.
One of the easiest and most popular is the 3-hole pamphlet stitch. And then there’s the 5-hole pamphlet stitch, which some say is more secure than the 3-hole version.
This video from Tracie Fox is particularly helpful to show you the difference between the two.
Check out my free masterclass to see how I usually bind a two-signature journal. I demonstrated with a mini journal so that it’s easier for beginners to craft along with.
You might also find some of these junk journal binding ideas helpful.
But you don’t even need to sew your signatures into your journal cover!
Maybe you’d prefer to have the freedom and flexibility to move your pages around when you’re using the journal. In that case, you might prefer to use an elastic binding method or book binding rings.
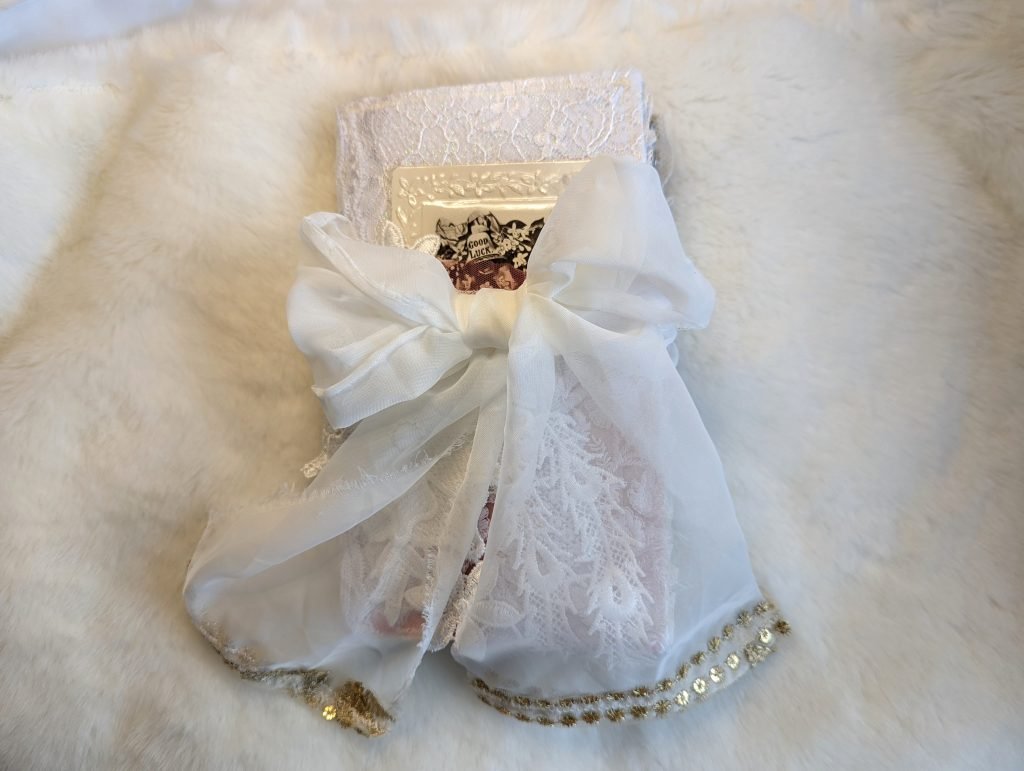
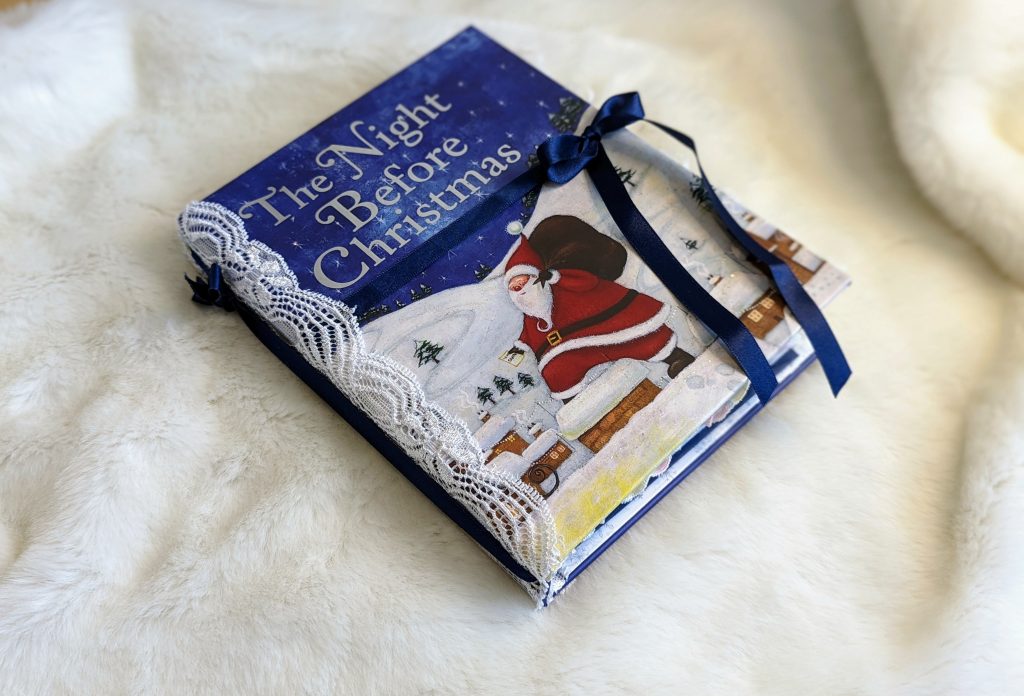
You can even use ribbon like I did for this fun Christmas junk journal. The ribbon keeps the pages secure while adding a decorative feature along the spine.

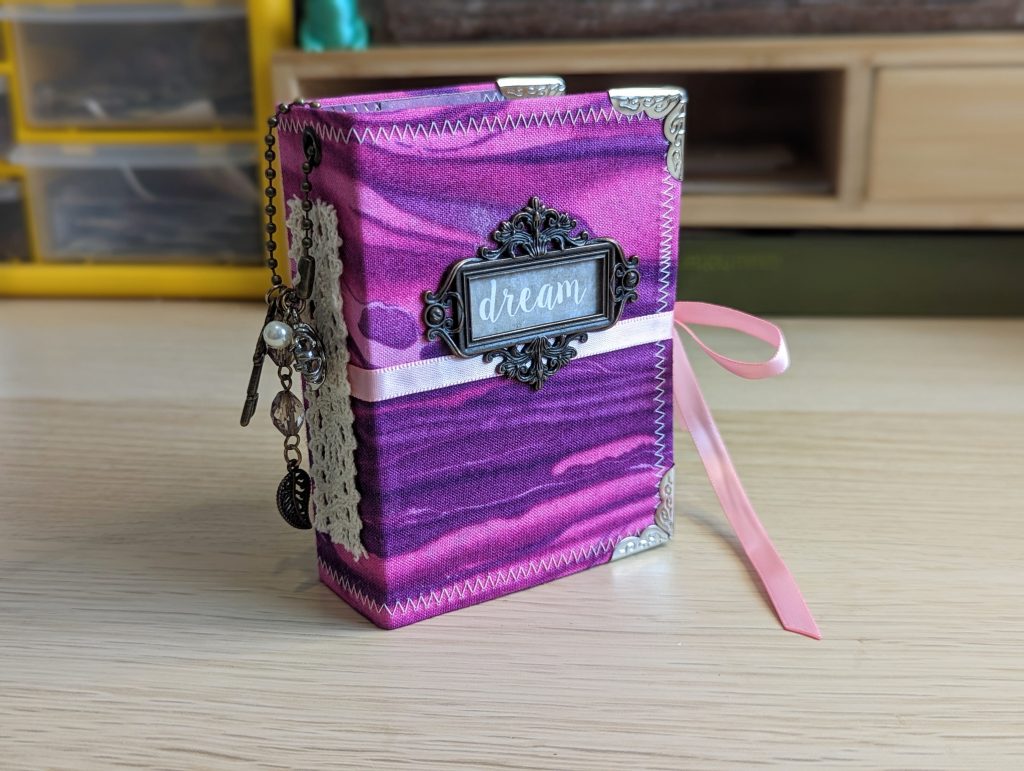
You might also want to watch this video to see how I bound one of my journals using elastics and a decorative shank button.

And here’s a video showing how I prepped my cover and pages to make them suitable for my Tim Holtz ring-bound journal. Interestingly, I also upcycled an old book cover to make this one.
Once you get comfortable with journal binding, it gets easier and you’ll be more likely to want to experiment. It’s all part of the fun!
Just to note: Some people prefer to add ephemera and embellishments before binding their signatures, while others (like me) prefer to bind the pages in first.
As always, there’s no right or wrong way.
I personally prefer to bind my pages in before decorating them for the following reasons:
- It keeps me focused and reins me in a little bit. (Otherwise, I could end up spending months working on a journal!)
- I find the pages easier to bind when they’re lighter and less bulky.
- And simply, my creative process flows better when I do it this way.
But I encourage you to try it each way so that you can decide what works best for you.
Step 5: Add ephemera and embellishments
So, you’ve finished making your journal cover and your signatures are ready for ephemera and embellishments.
Wonderful! This is most people’s favourite part of the junk journal process.
If you’ve never heard of the term “Junk journal ephemera” before, then my blog post defining it is probably worth a read.
But in a nutshell, junk journal ephemera is anything you add to your journal, such as pockets, tuck spots, belly bands, flip-outs, scrappy notepads, journaling tags and cards and whatever else you decide to add to it.
You might want to glue ephemera pieces directly onto your pages or paper clip them in. While some pieces will naturally fit best within pockets and tuck spots.
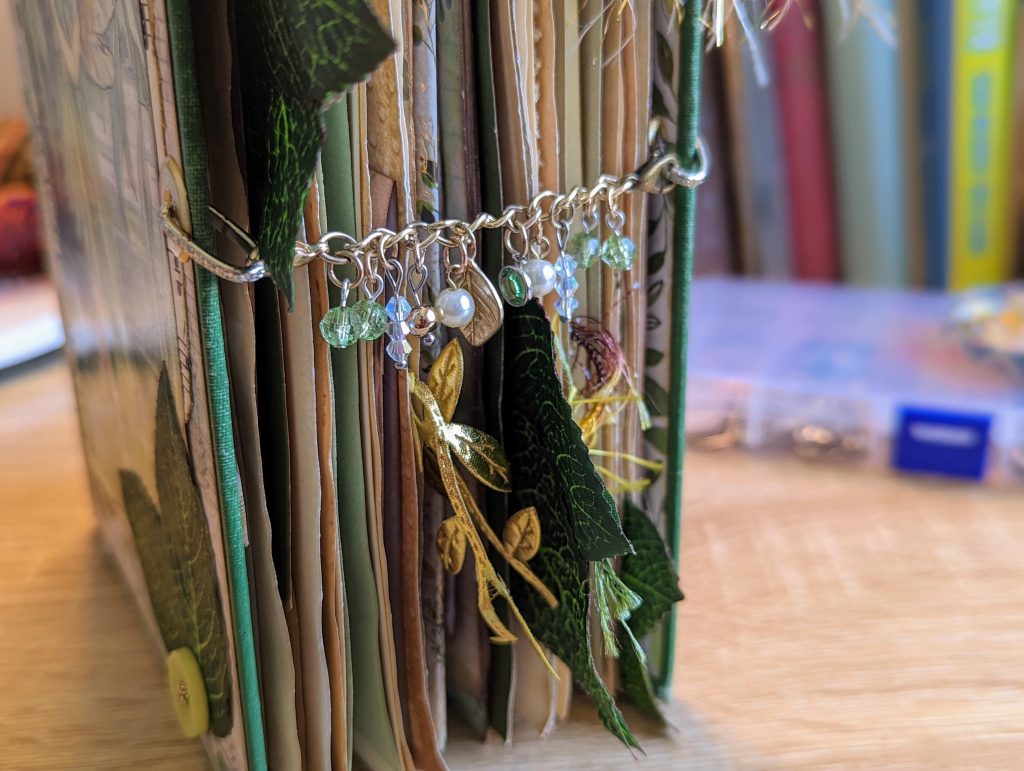
As for journal embellishments, these are all the finishing touches you add to your journal to decorate it, such as lace and ribbons, fussy cuts, stickers, clusters, altered paper clips, dangles and more. Here’s a list of some of my favourite junk journal embellishments.
I have lots of videos on making junk journal ephemera and embellishments, so you might want to check out my YouTube playlists linked below:
Alternatively, you might like to watch my creative process of filling a junk journal via one of the videos linked below:
Are You Still Looking For Junk Journal Inspiration?
In that case, you might like to read my other junk journal blogs; some of which are linked below:
- FAQs About Junk Journaling: 20+ Tips You Need To Know
- What is a Junk Journal?
- What is Junk Journal Ephemera?
- Junk Journal Definitions | A-Z Junk Journal Glossary For Beginners
- Junk Journal Supplies List & Where To Find Them
- The Intriguing History Of Junk Journals
Or maybe you’d prefer to come and hang out with me on my YouTube channel and see my process first-hand? I usually share videos every week.
And finally, why not come and join us in my Facebook group? We’re a lovely bunch, promise!
Final Thoughts
You should now have a beautiful handmade junk journal of your very own that you’re ready to write in.
I hope you’re happy with your results. But more than anything, I hope you enjoyed the process and are feeling inspired to make many more journals.
Once you get started, I suspect you’ll be like most others and catch the journal-making bug.
I caught the bug roughly two years ago now and it shows no signs of going away any time soon!
Read More About Junk Journals
- What Is A Junk Journal?
- Junk Journal Glossary For Beginners
- How To Start Junk Journaling: My Top Tips & Ideas For Beginners
- How To Make A Junk Journal From Scratch (Step-By-Step)
- FAQs About Junk Journaling: 20+ Tips You Need To Know
- The Intriguing History Of Junk Journals
- 35+ Types Of Junk Journals You Can Try Making
- What is Junk Journal Ephemera?
- Everything You Need To Know About Junk Journal Signatures
- What Is A Collage Masterboard & What Do You Do With It?
- Are Junk Journals Still Popular? 10 Reasons Why I Love Them
Junk Journal Toolkit
📦 What do I need to get started?
If you’ve got paper, glue, scissors and something to bind your pages with (like a needle, thread and an awl or pokey tool), you’re good to go! Check out my essentials vs. nice-to-have supply list for more info.
🤯 I’m overwhelmed by tutorials and ideas. Where should I start?
Start with my free Mini Junk Journal Masterclass. It walks you through the process step-by-step. Even though it focuses on a mini journal, the same tips apply to any size journal.
❓ I don’t understand the terminology. Can you help?
Absolutely! My A–Z Junk Journal Glossary breaks down all those confusing terms and acronyms. Jargon be gone!
🪡 How do you keep your binding neat?
I use my bookbinding cradle to line up my holes and avoid punching too far through the pages. Smaller holes give a neater and more secure binding, and I use this thin upholstery thread for a cleaner finish.
🧵 Do I need a sewing machine?
Not necessarily! A basic sewing machine is helpful for making fabric-covered journals, but strong fabric glue can work just as well. If you stick to paper-based journals or folios, you don’t need one at all. I like the sewn look and making fabric-based journals, so I personally use a simple machine (similar to this) that’s lasted me over 10 years – it’s a trusty part of my toolkit.
🖼️ What digital papers do you use?
I use a mix of my own designs and other favourites. You can see examples here. New to digitals? Check out my mega bundle for a big saving on some of my designs or sign up for my Mahalo Clubhouse membership to get brand new digitals sent to you every month.
📜 What’s the best paper for printing digitals?
I use this 100 GSM Presentation Paper for vibrant and high-quality prints.
🖨️ What printer do you recommend?
I love my Epson Ecotank. It’s affordable, reliable and the ink lasts ages. I used to spend £30 a month on ink – now I refill just once or twice a year for under £30. Check out my detailed review of EcoTank printers to see how much you could save!
🖇️ What glues do you use?
My go-tos are Collall All Purpose, Cosmic Shimmer and Beacon 3-in-1. Here’s how I use each one.
📖 What books are best for junk journaling?
I love using second-hand nature and botanical books. Here are some great titles to look for next time you’re thrifting.
I just really do not want to sew anything on a sewing machine. I like to bind things by hand, however, in putting together the spine. So my question is – In your loads of experience (I’m just starting with junk journals), will they properly stand up to use if I skip sewing altogether and just work with glues, clips, tapes, etc.? I’m not a big fan of 3 ring binders either – but are those a good option for journals in which pockets, etc., are not being sewn but glued/taped/clipped? Hope that question makes sense. I sewed for decades and just thinking about pulling out a machine again makes my shoulders slump. I so love your journals and really appreciate you taking the time to show beginners ways to make them.
Hi Sherry,
Thanks so much for your comment 🙂
You don’t need to use a sewing machine at all – especially if the thought of it makes you feel unhappy rather than excited right now.
I’m not sure where you’re based, but if you’re able to, I’d recommend getting either Fabritac or Beacon 3-in-1 glue – these are very good glues and will suit both paper and fabric. Just try to avoid putting too much on as they can seep through thin fabrics. Art glitter glue is also very good, but not essential.
When making your covers, if you fold the paper or fabric over the edges of your base, then this will protect them more as then the edges can’t lift up if that makes sense?
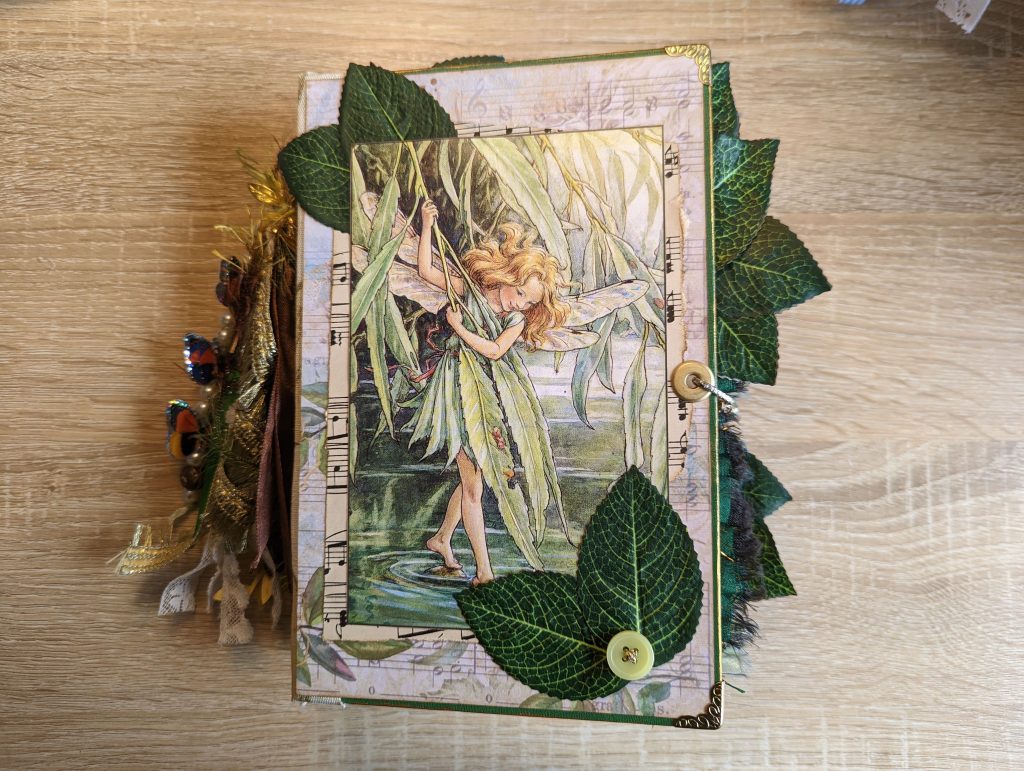
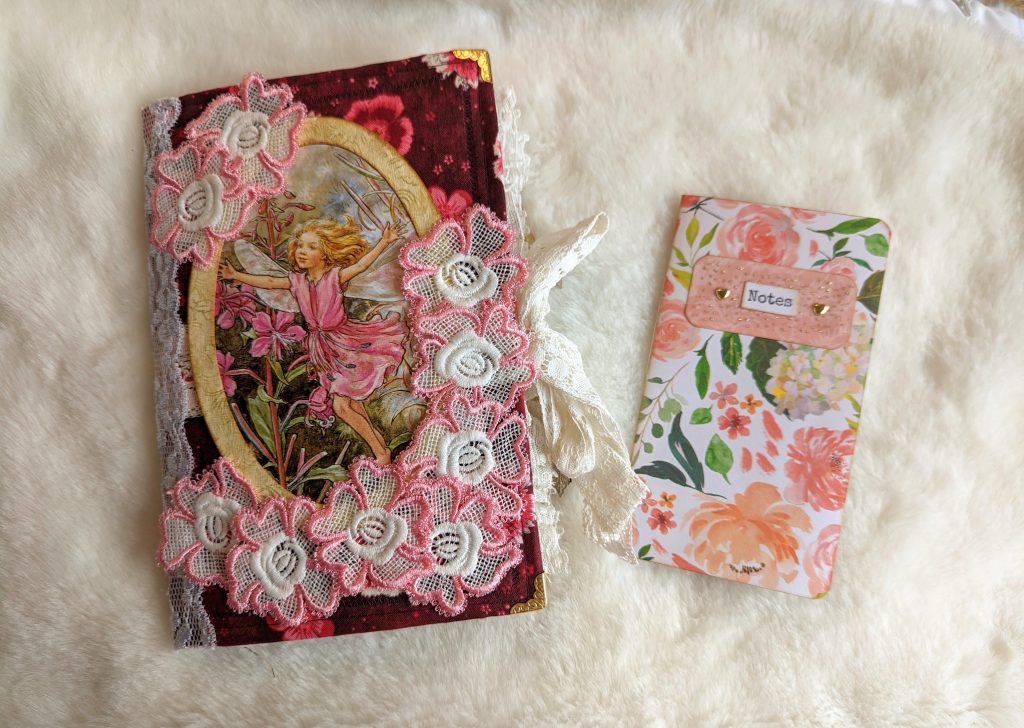
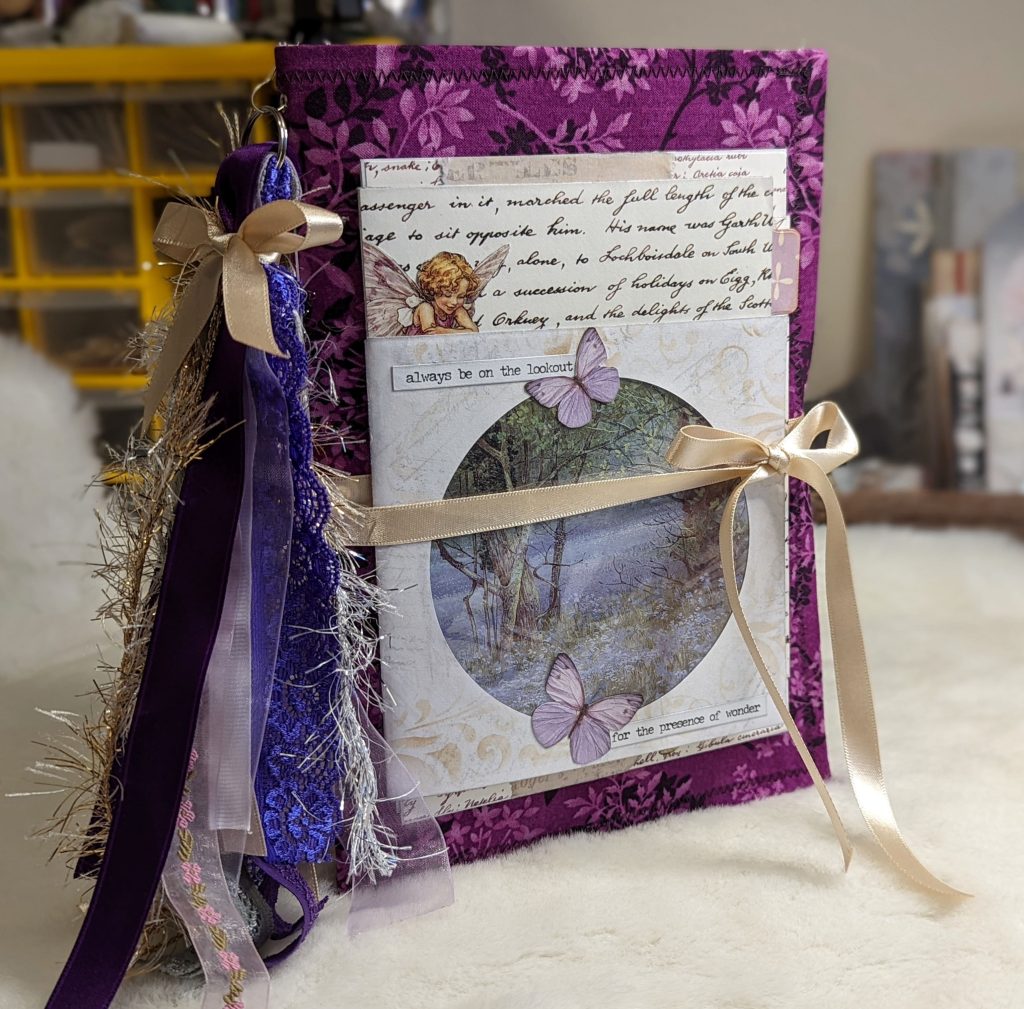
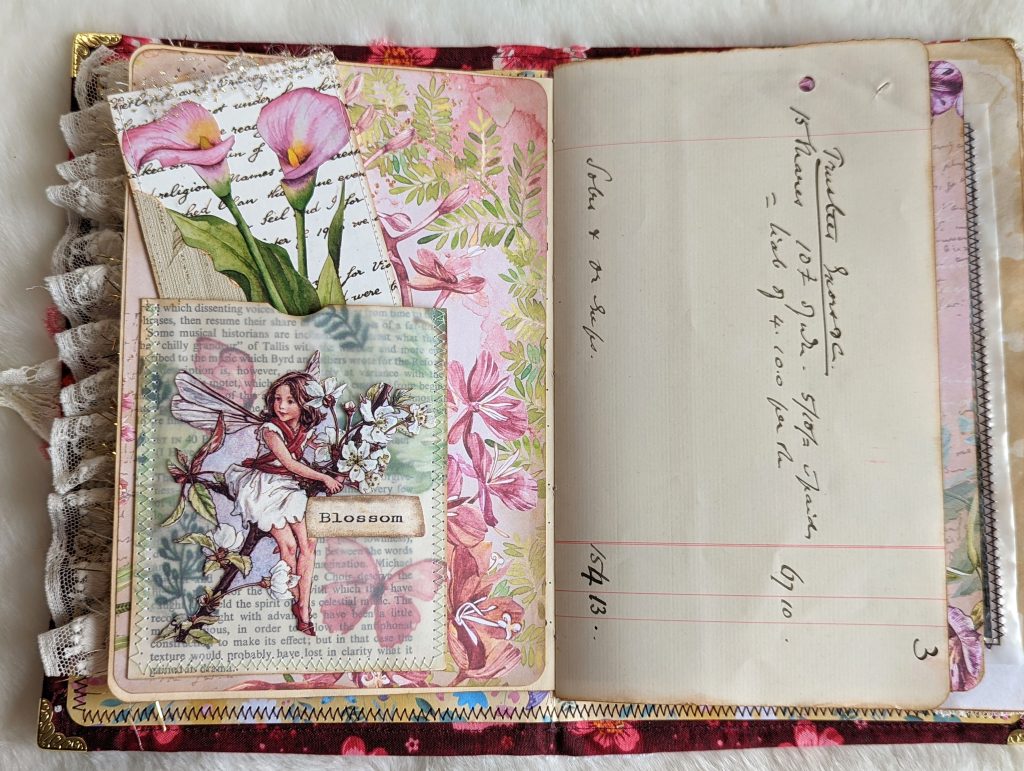
But even if you just glue things to your base (such as a book cover), this is absolutely fine to do especially with good glues like the ones mentioned above. Both my Tim Holtz ring-bound journal and my Enchanted Woodland fairy journal had very little sewing involved (just gluing things onto my book covers) 🙂
As for your pockets, tuck spots, embellishments, etc, glue is just fine for those as well. But don’t feel like you have to make ring-bound journals – you can make all the normal journals you see just with glue.
I hope this helps / sets your mind at ease a bit 🙂 xoxo
I am entering the giveaway!
This blog post is so extremely helpful Justine! I have been watching your videos but love that you post instructions here too. You are so talented and extremely helpful. Thank you for all you do. Hope you reach 20,000 and beyond. And Happy early Birthday!
Thank you so much for your lovely comment Marjo – I’m so pleased you enjoyed the blog post 😀
Good luck for the giveaway! xoxo
Such an useful post! Thanks for writting it. I’ve never tried upcycling an entire book. I’ve collect some old books from the library’s donation pile and I’ll try.
Thanks
Hi Sam,
My pleasure! I’m so pleased you found the blog helpful 🙂
Ooh fantastic! You’ve likely saved those books from being incinerated, so that’s awesome. I hope you enjoy crafting with them! xoxo