
Is Your Journal A Gator Mouth? Here’s What To Do About It.
Have you ever made a journal so chunky it barely closes?
That’s what we junk journalers lovingly call a gator-mouth journal and it’s something nearly all of us encounter at some point.
The gator-mouth effect happens when your journal becomes too full and the fore-edge (the open side of your journal) becomes taller than the spine.
This creates a tell-tale wedge shape that resembles an alligator’s open mouth.
And just like real gators, some are only slightly ajar, while others look like they’re mid-chomp. The chunk factor really varies!
I’ll never forget the first full-sized journal I made. It was beautiful, yes – but oh boy, was it a gator mouth. I was new, enthusiastic and determined to try all the things. Sound familiar?

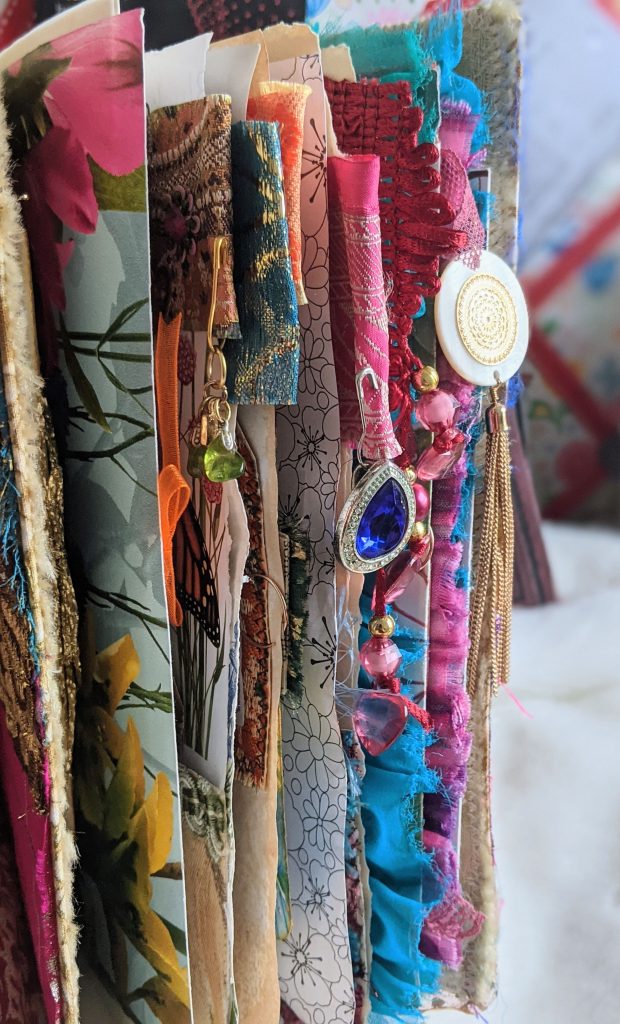

While there’s nothing wrong with a chunky journal (some of us love that look!), it can be frustrating when you’re aiming for something more functional or easier to write in.
The number one cause of gator mouth is not planning for bulk – especially when it comes to choosing the right spine size for the number of pages, ephemera and embellishments you want to add to your journal.
Even though I’ve made well over 100 journals and folios by now, it still amazes me how chunky junk journals can get, so you’re not alone if you’ve been caught out by that too!
Don’t worry, though, because there are simple ways to keep your journals balanced, so they can be as functional as they are beautiful.
Unless, of course, you’re team “chunky is charming”. In which case, feel free to celebrate how chunky your journals get!
How To Avoid Making A Gator-Mouth Journal
Usually, with just a few mindful tweaks to your process, you can avoid gator-mouth journals if you want to – or at least keep them from getting totally out of hand. Read on for my top tips.
1. Choose the “right” spine size for your journal.
This one’s huge (pardon the pun!). If you’ll be adding lots of pages and chunky ephemera or embellishments, the spine of your journal needs to account for that.
I recommend at least a three-quarter-inch of spine per signature if you can.
So, if you’re working with a single-signature journal, aim for a spine that measures at least three-quarters of an inch; two signatures, go for a 1.5-inch spine (as a minimum) and so on.
Usually, you only have control over how big the spine is when you’re making hardcover journals.
If you’re making soft, fabric-covered journals, you’ll simply need to keep an eye on how chunky your journals are getting while you’re making them.
2. Burnish your pages with a bone folder before binding.
Giving your folded pages a good crease with a bone folder can help compress the paper and reduce bulk right from the start.
I go over my pages multiple times (with a bit of muscle!) It’s a small step that makes a big difference.
3. Paper clip first, glue later.
Before committing to glueing down that gorgeous cluster or tucking in that chunky tag, try clipping your pieces in place with a paper clip.
This lets you close the journal and check how chunky it’s getting as you go, so you can make changes and move things around if you need to.
4. Don’t be afraid to remove pages.
Especially for fully embellished journals, less is more when it comes to the number of pages per signature.
I typically aim for 8–12 pages per signature – and more often than not – I stick closer to 8. This usually gives you enough room to play without overstuffing your journal.
This is why clipping pieces into your journal first can help. If you need to remove ephemera or pages, you have the freedom to do that now – before binding the pages in.
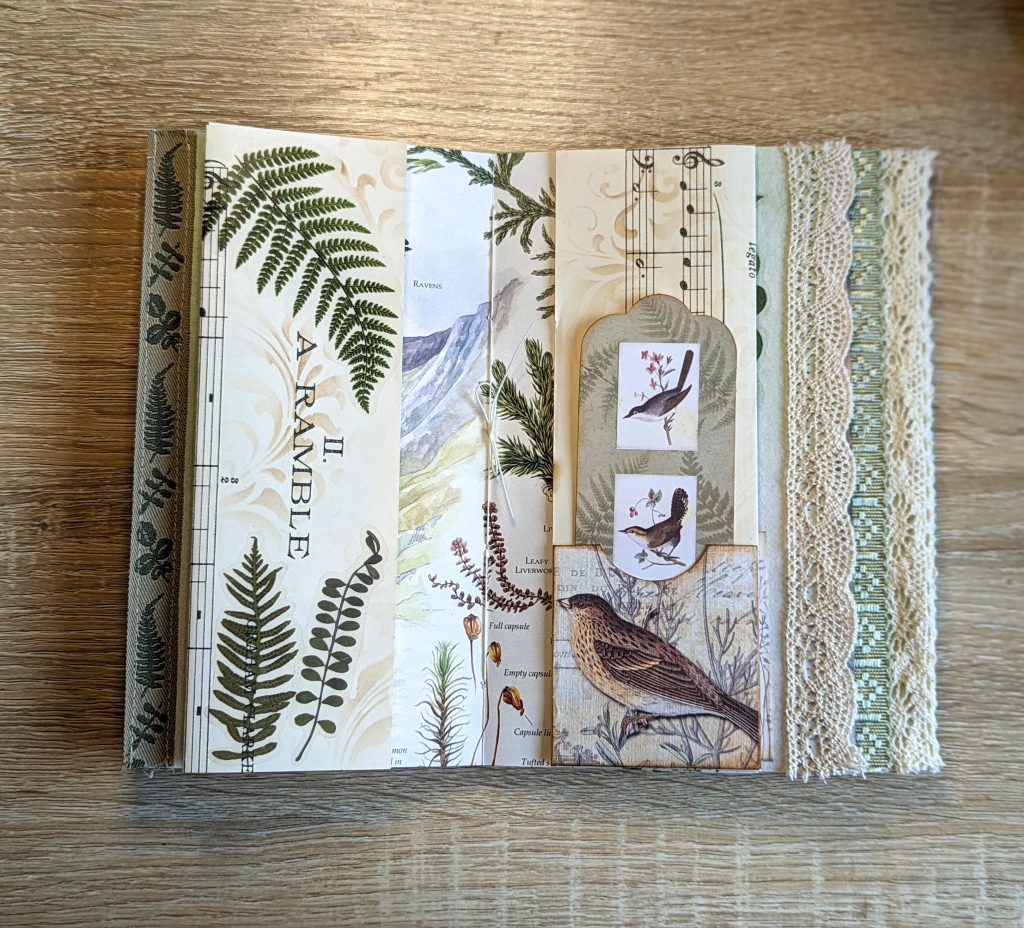
💡 Top Tip: If your journal is getting chunky, but you don’t really want to remove any pages, then why not use some of the excess pages as tip-ins instead? As I’ve explained in my course, “From Bookshelf To Beautiful”, a tip-in is any page you add to your journal, which isn’t bound into the signature itself, such as a page that flips or folds out from another. Because these types of pages aren’t bound into the spine, they allow you to distribute the bulk across your journal, helping to make it less of a gator mouth.
5. Balance your embellishing.
A common mistake a lot of crafters make (myself included sometimes!) is starting at the front of the journal and loading it up as you move through it.
Instead, keep flipping through the pages. Add pockets to the front, then the back, then the middle, so you don’t end up with a huge amount of bulk at the start of the journal and less in the back.
As a general rule of thumb, I like to aim for roughly two writing pages for every pocket or chunky embellishment.
This isn’t a hard and fast rule for me (rarely anything is when it comes to making journals!), but doing this can help keep things balanced – especially if you’re still getting a feel for what you prefer.

6. Make and use less bulky ephemera.
With your journal growing with every piece of ephemera or embellishment you add to it, it’s easy to see why adding less bulky ephemera can really help you avoid gator-mouth syndrome!
Here are a few things that have worked for me:
- Back your tags or journal cards with sturdy paper instead of cardstock to reduce thickness.
- Keep an eye on how many layers and textures you’re using. Lace, fabric, corrugated cardboard and lots of thick fussy cuts can add up quickly.
- Try using stickers, rub-ons, stencils and stamps instead of raised embellishments for a flatter but still decorative look.
- Use book pages as bases for your ephemera to make everything less bulky.
- If you love working with trash and other packaging (hey, me too!), just be cautious. Some of it is quite thick. I personally love making folios from junk because folios give you more wiggle room than traditional journals.

7. Consider moving up to multiple signatures.
In my experience, gator-mouth is more likely to sneak up on you with fully embellished single-signature journals.
If you find that keeps happening, it might be time to move up to multiple signatures – especially if your experience and skills have been increasing with each journal you make.
For want of a better word, at some point, you’ll probably outgrow single-signature journals.
That said, I personally love making single-signature journals (I get bored making big ones!), so I just stick to everything I’m telling you about now to keep things manageable and functional.
As always, you just gotta do whatever works best for you and the journals you want to make.
Oops… It’s Already a Gator-Mouth! Now What?
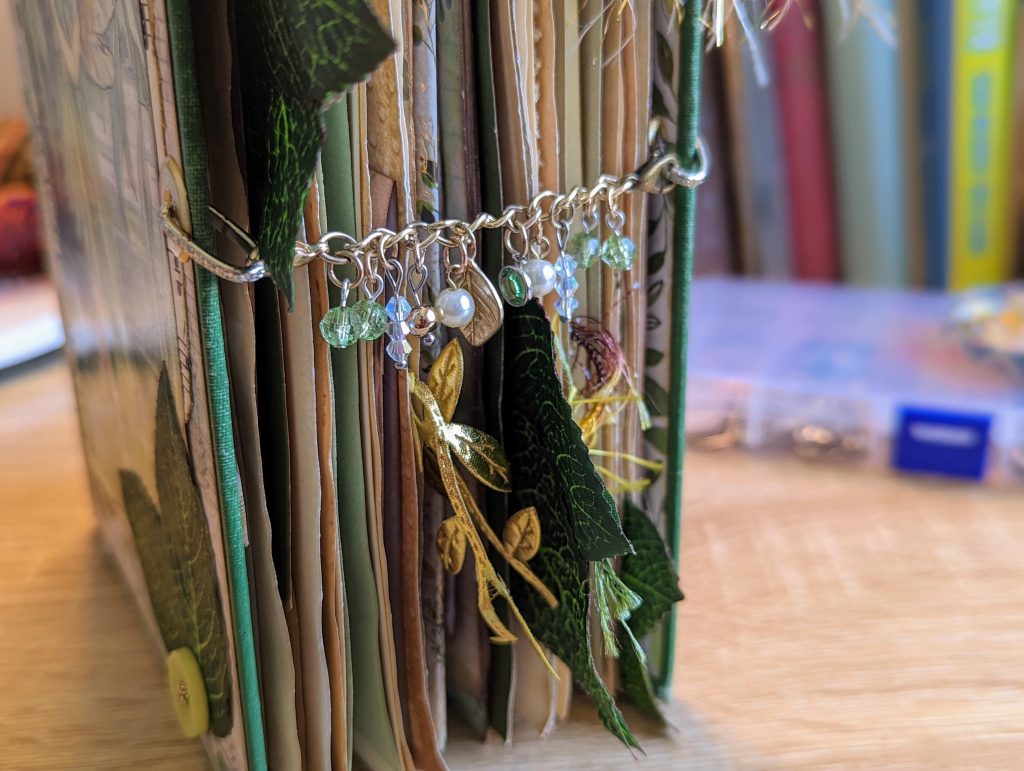
So your journal’s puffed up like a proud peacock and won’t close without a bit of muscle? Don’t worry! You’re not the first (and definitely not the last!) to end up here.
Whether your journal is already bound or still in progress, here’s what you can do…
If your journal is already bound:
This is the trickier stage, but all is not lost!
- First, ask yourself: Can I live with the gator mouth? If you love the look of a chunky, stuffed journal – and you’re not too fussed about it lying flat – then own it! Chunky journals have their charm, after all.
- If you want to tone it down a little, try placing your journal under something heavy (like a stack of books) for a few days. It won’t flatten it completely, but it can help it settle and close more easily. I had to do this with one of my folio journals that chunked up a bit too much. After a day under some heavy books, you couldn’t tell it ever suffered from being a gator mouth!
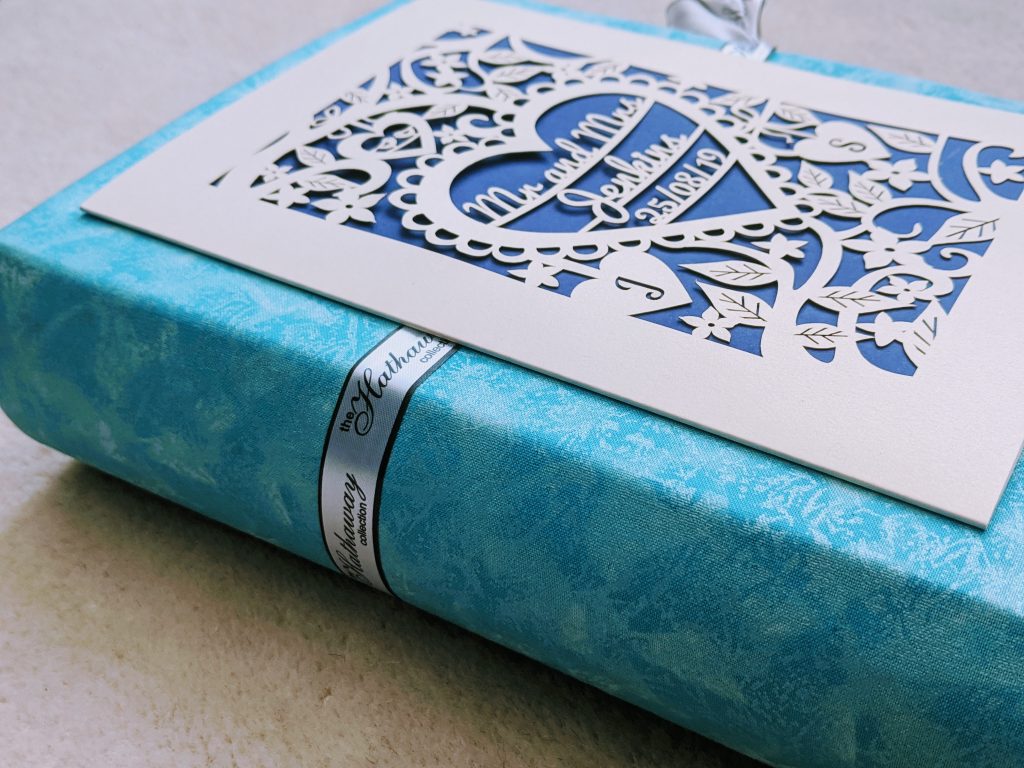
- You’ll likely need a strong closure. This is your chance to get creative. Ribbons, sari silk, elastic loops, or wraparound ties can all double up as beautiful design elements while keeping your journal snug. When I made my wedding journal, I actually used the closure as one of the main focal points on the cover – and it looked stunning!
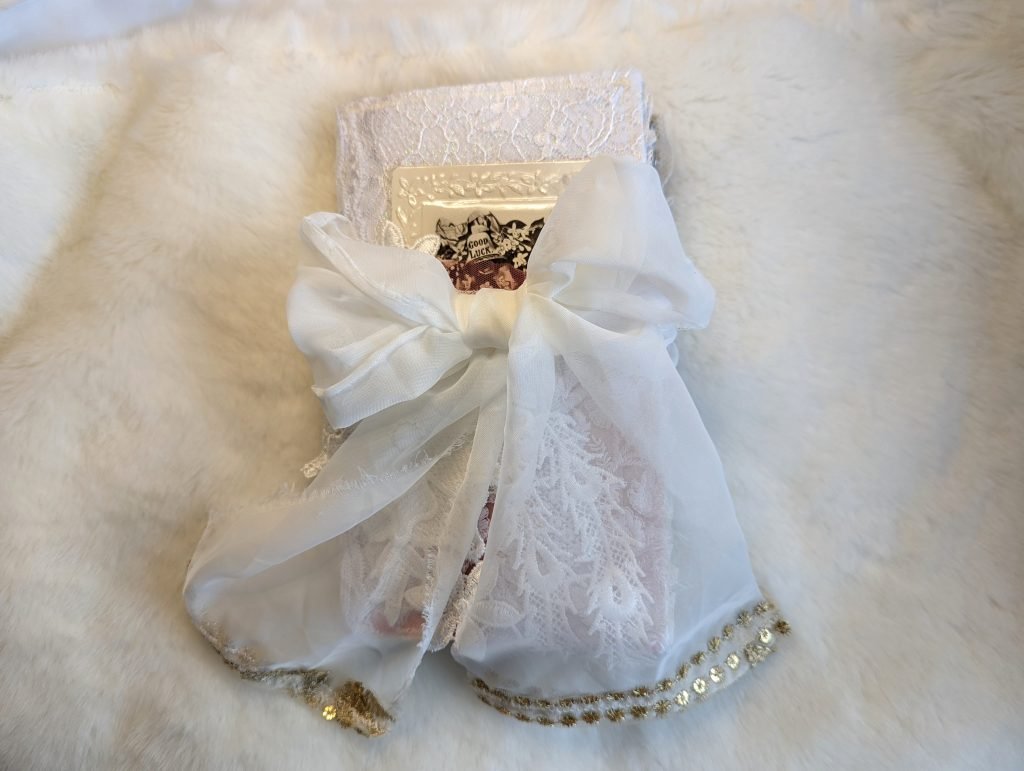
If your journal isn’t bound yet:
Good news! This is much easier to fix:
- Remove pages. Take out a few from each section and see how that helps the overall bulk.
- Remove some ephemera or chunky layers and save them for another project (they’re not wasted – just rehomed!)
- Adjust your cover. If you love the pages and ephemera as-is but the spine is too narrow, consider switching to a cover with a wider spine or making the current spine bigger. Or you could rebuild the cover entirely. This is a great opportunity to upcycle a box or book you’ve been saving.
- You might even decide to split your journal into two smaller ones, turning one big one into a pair of lovely smaller journals.
- Turn thick pages into pockets or tuck spots rather than layering on top of them. You could glue two pages together and leave one side open. That way, you still have somewhere to write and a handy pocket!
And if all else fails? Embrace it! Add some humour to the name of your journal, like “The Gator Chronicles” or “Chunky Monkey Vol. 1” and make it part of your journal’s story.
Is Gator-Mouth Bad? Or Can It Be a Good Thing?
You’ll hear me say this a lot: there are no rules in junk journaling.
If you love the look of chunky journals, then gator-mouth might not be a “problem” for you at all. It might just be your style.
Just as long as you’re not putting too much strain on the binding, which can cause the pages to tear over time, you’re free to make the kind of journals you like.
Some journals actually suit a chunkier look really well. For example, fabric or soft-cover journals tend to feel extra cosy and satisfying when they’re full of texture and layers. That squishy, stuffed feeling is so satisfying!

As you make more journals, you’ll start to figure out what you like best. Some of us crave lots of space to write, others just want to showcase beautiful ephemera and vintage pieces.
Personally, I like my journals with a little bit of chunk – enough to feel full and interesting, but not so much that they need their own bookshelf!
So whether you embrace the gator-mouth, aim to avoid it, or land somewhere in between, just know: it’s all part of your creative journey – and that’s what makes this hobby so magical.
Read More About Junk Journals
- What Is A Junk Journal?
- Junk Journal Glossary For Beginners
- How To Start Junk Journaling: My Top Tips & Ideas For Beginners
- How To Make A Junk Journal From Scratch (Step-By-Step)
- FAQs About Junk Journaling: 20+ Tips You Need To Know
- The Intriguing History Of Junk Journals
- 35+ Types Of Junk Journals You Can Try Making
- What is Junk Journal Ephemera?
- Everything You Need To Know About Junk Journal Signatures
- What Is A Collage Masterboard & What Do You Do With It?
- Are Junk Journals Still Popular? 10 Reasons Why I Love Them
Junk Journal Toolkit
📦 What do I need to get started?
If you’ve got paper, glue, scissors and something to bind your pages with (like a needle, thread and an awl or pokey tool), you’re good to go! Check out my essentials vs. nice-to-have supply list for more info.
🤯 I’m overwhelmed by tutorials and ideas. Where should I start?
Start with my free Mini Junk Journal Masterclass. It walks you through the process step-by-step. Even though it focuses on a mini journal, the same tips apply to any size journal.
❓ I don’t understand the terminology. Can you help?
Absolutely! My A–Z Junk Journal Glossary breaks down all those confusing terms and acronyms. Jargon be gone!
🪡 How do you keep your binding neat?
I use my bookbinding cradle to line up my holes and avoid punching too far through the pages. Smaller holes give a neater and more secure binding, and I use this thin upholstery thread for a cleaner finish.
🧵 Do I need a sewing machine?
Not necessarily! A basic sewing machine is helpful for making fabric-covered journals, but strong fabric glue can work just as well. If you stick to paper-based journals or folios, you don’t need one at all. I like the sewn look and making fabric-based journals, so I personally use a simple machine (similar to this) that’s lasted me over 10 years – it’s a trusty part of my toolkit.
🖼️ What digital papers do you use?
I use a mix of my own designs and other favourites. You can see examples here. New to digitals? Check out my mega bundle for a big saving on some of my designs or sign up for my Mahalo Clubhouse membership to get brand new digitals sent to you every month.
📜 What’s the best paper for printing digitals?
I use this 100 GSM Presentation Paper for vibrant and high-quality prints.
🖨️ What printer do you recommend?
I love my Epson Ecotank. It’s affordable, reliable and the ink lasts ages. I used to spend £30 a month on ink – now I refill just once or twice a year for under £30. Check out my detailed review of EcoTank printers to see how much you could save!
🖇️ What glues do you use?
My go-tos are Collall All Purpose, Cosmic Shimmer and Beacon 3-in-1. Here’s how I use each one.
📖 What books are best for junk journaling?
I love using second-hand nature and botanical books. Here are some great titles to look for next time you’re thrifting.
