How To Make Your Own Embroidery Pattern (Even If You Can’t Draw!)
Ever wondered how to make your own embroidery pattern? Or how to design your own patterns even if you can’t draw?
Read on to find out how I design custom embroidery patterns using a free online tool called Canva… and how you can do the same.
Trust me… it’s super easy and quick to do once you know how to do it!
Designing Your Own Custom Embroidery Patterns
But first, why do I recommend using Canva to design your own custom embroidery patterns?
Well, for one, Canva is free to use. There is a “Pro” version but you don’t need it for something like this.
It’s also quick and easy to use once you learn where everything is and how to mock up your designs.
You don’t even need to be able to draw. Phew!
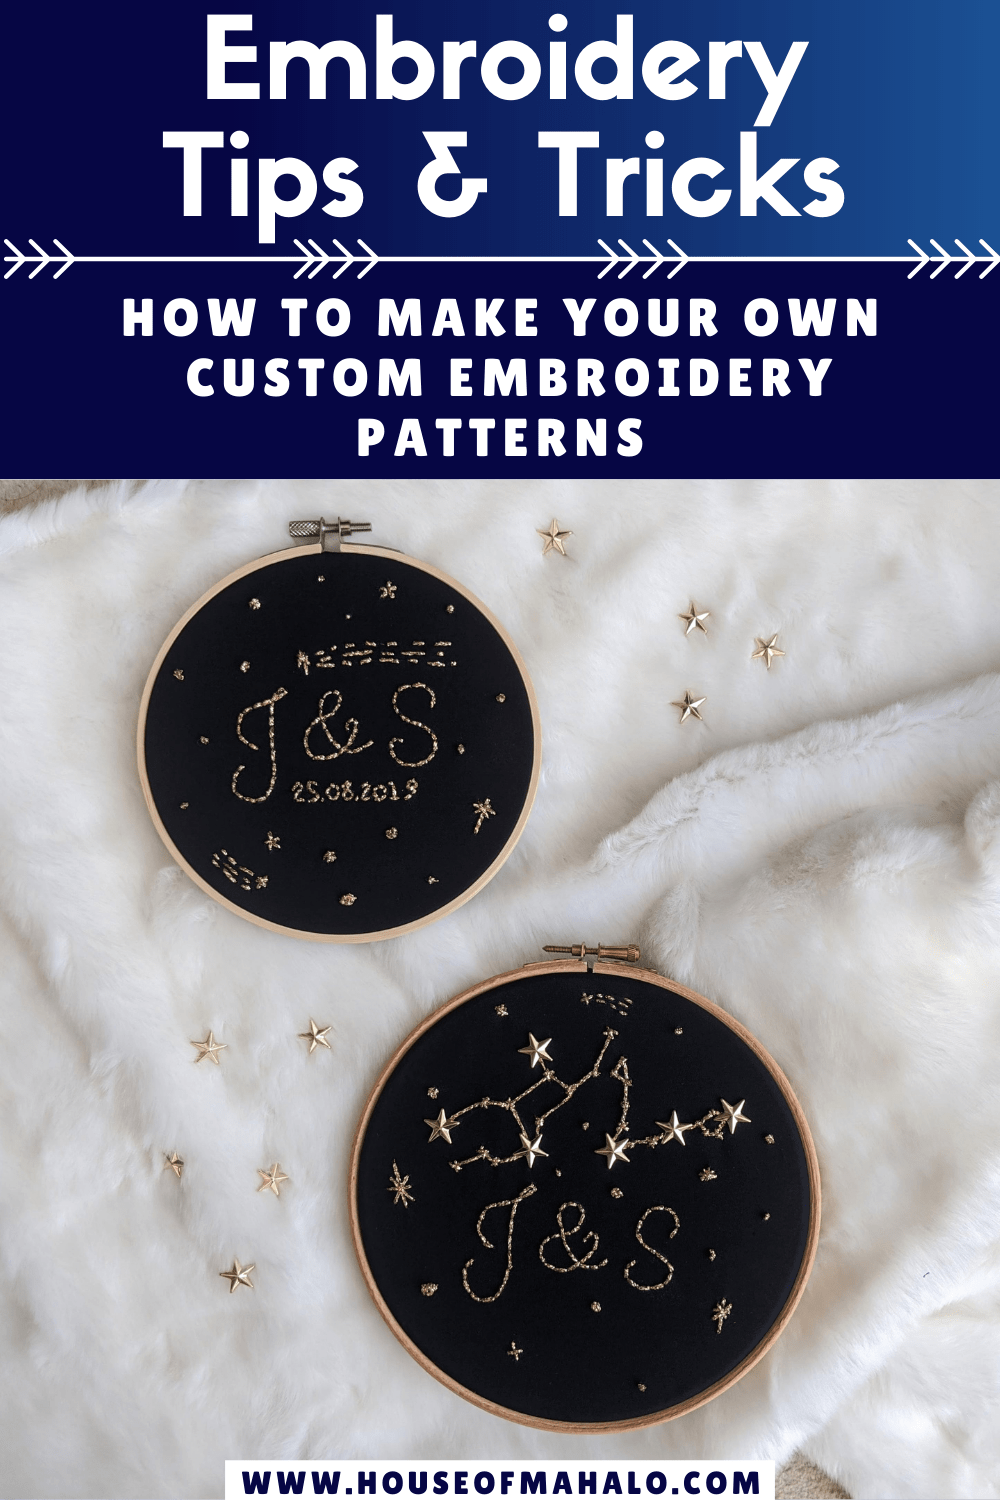
Here are a couple of examples of custom embroidery designs I’ve made using Canva; each taking me less than 15 minutes to mockup:

And here’s how my embroideries looked once I’d finished stitching them. I added some extra stars and french knots freehand:


I was also able to create a couple of “Parisian lady” designs in Canva using some line drawings I found on Pixabay. I also added text to one of my mockups. Here’s how the embroideries looked when stitched onto some art canvases:

So… fancy making your own custom embroidery designs? Here’s how I made mine using Canva…
How To Make Your Own Embroidery Patterns Using Canva
Step 1: Create a new design in Canva.
Open Canva in your web browser (you may need to create a new account if you’ve never used it before).
Click the “Create a design” button and choose “Custom size”.
If you’re using an embroidery hoop, set your design to be an inch larger than the size of your hoop. For example, set your design to be 8×8 inches if you’ll be using a 7-inch hoop.
If you’re stitching your design onto something else – say an art canvas – then you can go ahead and set your design to be the same size as your canvas. Just remember to leave a border around it, so your design looks centralised when you’re finished.
Step 2: (Optional) Add a circle to your design.

If you’re using an embroidery hoop, adding a circle to your design will help you to visualise how your final design will look.
You should be able to find a circle shape in the “Elements” section of Canva. What I like to do is make the circle the same size as my hoop (e.g. 7 inches), so I know exactly where I want everything to go in my design.
As you resize your circle, you should see its dimensions pop up. Keep resizing the edges until you’ve got the size you want and then move the circle to be central and symmetrical within your design.
Step 3: (Optional) Import your image(s) into Canva.
If you want to use an image you already have, such as a line drawing, then you can “Upload” it onto Canva using the menu on the left-hand side of your screen.
You may be able to find drawings on sites like Pixabay that you can use for free, so you don’t have to draw anything yourself.
If you’re going to sell your embroideries or patterns, then be sure to check the commercial terms of the image you’re using. Pixabay is usually okay, but I always screenshot the picture before downloading it should anyone ever question where the original design came from.
Canva also has a repository of images you can use for free (yep – even commercially!)
You can also add text and numbers to your designs to help you personalise them. Browse through the left-hand menu in Canva to see exactly what’s possible.
Step 4: Add your images or text to your design.
Arrange your images and/or text to create your design. You can also make each element bigger or smaller as you create your mockup.

Step 5: Once you’re happy with your design, download it and print it onto paper.
I usually download my designs as a PDF because I think printing them is easier this way. You should see a “Download” option in the top-right hand corner.
Step 6: Transfer your design from your paper onto your fabric.
Once you’re happy with your design and how it looks when printed out, it’s time to transfer it to your fabric.
Here are my tips on how to do that:
- Attach your fabric to your embroidery hoop – just like you normally would.
- Cut around your printed out circle and tape it to the back of your fabric using washi tape. Because you made the circle the same size as your hoop, you should find it fits snugly inside your hoop.
- Hold a light over your embroidery hoop. This should help you to see your design through the fabric. You could use a lightbox. Sometimes, a laptop or iPad screen also helps.
- Trace your design onto your fabric. You could use an embroidery transfer pen, an erasable fabric pen, a white chalk pen or even some tailor’s chalk.
- Remove the paper and tape. Because it’s time to get stitching!
Step 7: Stitch your design.
I’m sure you know all about this part! *wink*
Step 8: Erase your pen marks.
To erase your pen marks, dab your fabric with a damp sponge or a “magic eraser” sponge. Which one you need depends on whether you used an erasable pen or chalk to transfer your design.
However you choose to erase your marks, don’t scrub too hard! Gentle pats are enough.
And there you have it! Your very own custom embroidery designed and stitched by YOU… and not a single bit of drawing was involved!

Read More About Cross Stitch & Embroidery
- Craft Yourself Happy: 9 Benefits Of Cross Stitching
- What To Do With Your Finished Cross Stitch: 15 Interesting Ideas
- 8 Heartwarming Home Sweet Home Cross Stitch Patterns
- 11 Tasty Cake Cross Stitch Patterns That’ll Make You Drool!
- 7 Easy Cross Stitch Stash Organisation Ideas
- Quick & Easy DIY Key Holder (Using A Picture Frame & Cross Stitch)
- DIY Paper String Art Heart (Easy Embroidered Cards For Valentine’s Day)
- How To Make Your Own Embroidery Pattern (Even If You Can’t Draw!)
Did you find this tutorial helpful? If so, why not pin or bookmark it now so you can refer back to it later?

Thank you! This is a great article and so so helpful! Thank you for sharing with us!
You’re most welcome Sue 🙂 I’m so pleased you found it helpful. Happy crafting! xoxo
This is just what I have been looking for. So helpful! Thank you!!!!
Hi Sonjia, I’m so pleased you found my blog helpful. Happy stitching! xoxo
Thank you so much for this tutorial and all the tips! Very helpful to get me started on creating my own embroidery hoop templates!
You’re most welcome Anthea! I’m so pleased you found the blog helpful 🙂
Happy stitching! xoxo
Thanks for keeping the process simple. I already use Canva for EVERYTHING —from designing YouTube thumbnails to creating my Cricut designs. It makes sense that it could help me with my newfound interest; embroidery. Thanks for explaining how to get it from being a printout to being utilized as a design to stitch to! 😊🙌🏾
Wonderful! I’m so pleased you can use my tutorial – happy stitching!
And I’m the same… I’m forever using Canva 😀 xoxo
THANK YOU for saving me about $1000 on an Ipad and Procreate, haha!! Seriously, though, I truly appreciate your easy to follow step-by-step instructions.
Hehe, you’re very welcome Molly! 😉
I’m so pleased you like this way of doing it – happy designing! xoxo
I know this is super delayed, but I found this page so helpful when making my own designs! I’m hitting a snag with printing though – my designs come out HUGE, way bigger than my intended hoop size. Do you use a special printer setting to make sure that your 7 inch design stays 7 inches? Thank you!
Hi Shelley,
Oh that’s wonderful! I’m so pleased you found the blog helpful 😀
As for printing your designs, the settings might depend on whether you’re downloading the design from Canva as a PDF or as a PNG/JPG image.
If you’re downloading as a PDF, you should just need to check that your paper size says A4 or Letter and I have a setting for “Fit to printable area”. Your printer settings could be different, of course, but I can’t imagine you’ll need to change more than that for the PDF version.
If you’re downloading the file as an image, then this might be where the problem lies because you have to change more settings. On my end, I need to again select A4 or Letter paper size in “Portrait” mode with “Normal” margins and “Shrink to fit” selected. This then gives me the appropriate 7×7 inch image. Without those settings, the hoop is massive and goes off the page.
I hope this helps, but give me a poke if you’re seeing something else when trying to print.
Justine xoxo